Program Elements
Program Elements are user-defined or custom NLPs designed to perform specific tasks. When users have unique testing requirements, they can leverage the Program Element feature to create custom NLPs using programming languages such as Java, Python, C#, JavaScript, or Ruby.
Purpose of Program Elements
FireFlink offers extensive NLP coverage that meets around 95% of typical test automation requirements. However, for project-specific needs, users can create custom NLPs using an IDE platform to extend support for specialized testing scenarios
Navigation
Steps to navigate to Program Elements
- Navigate to the desired project in the FireFlink Platform and the user will be landed on the Test Dev section in the Project Level.
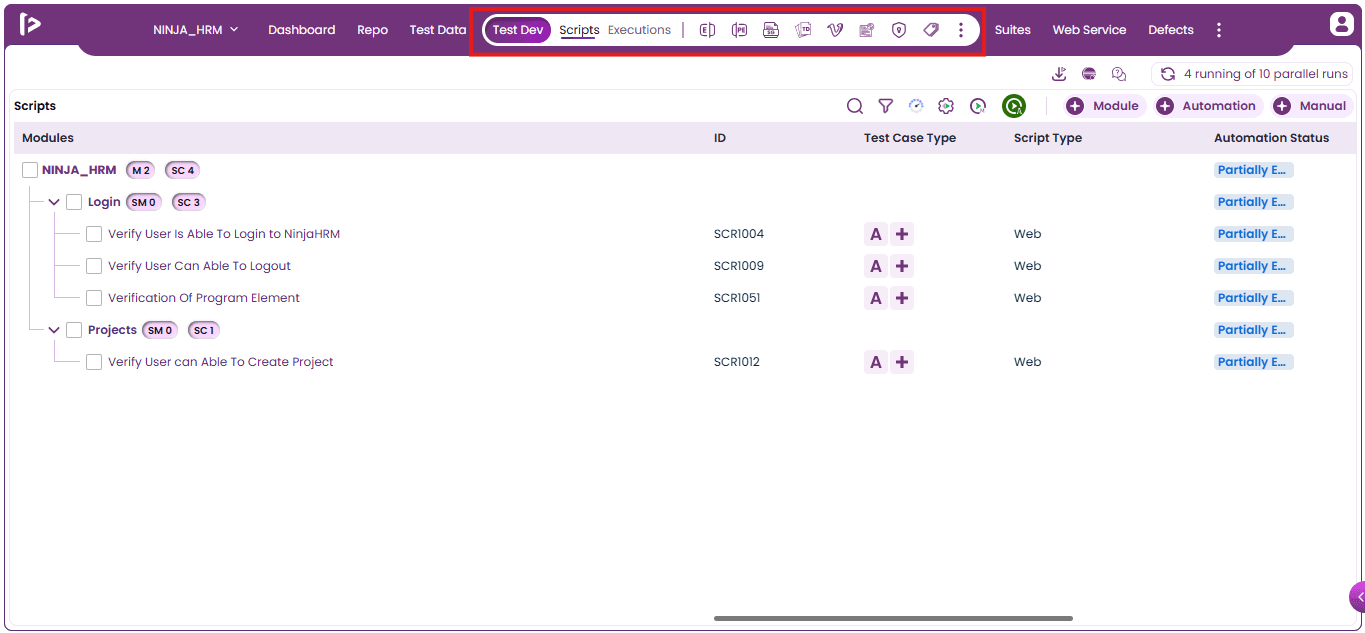
- Go to the Repo section and by default the user will be landed onto the Elements page as shown below.
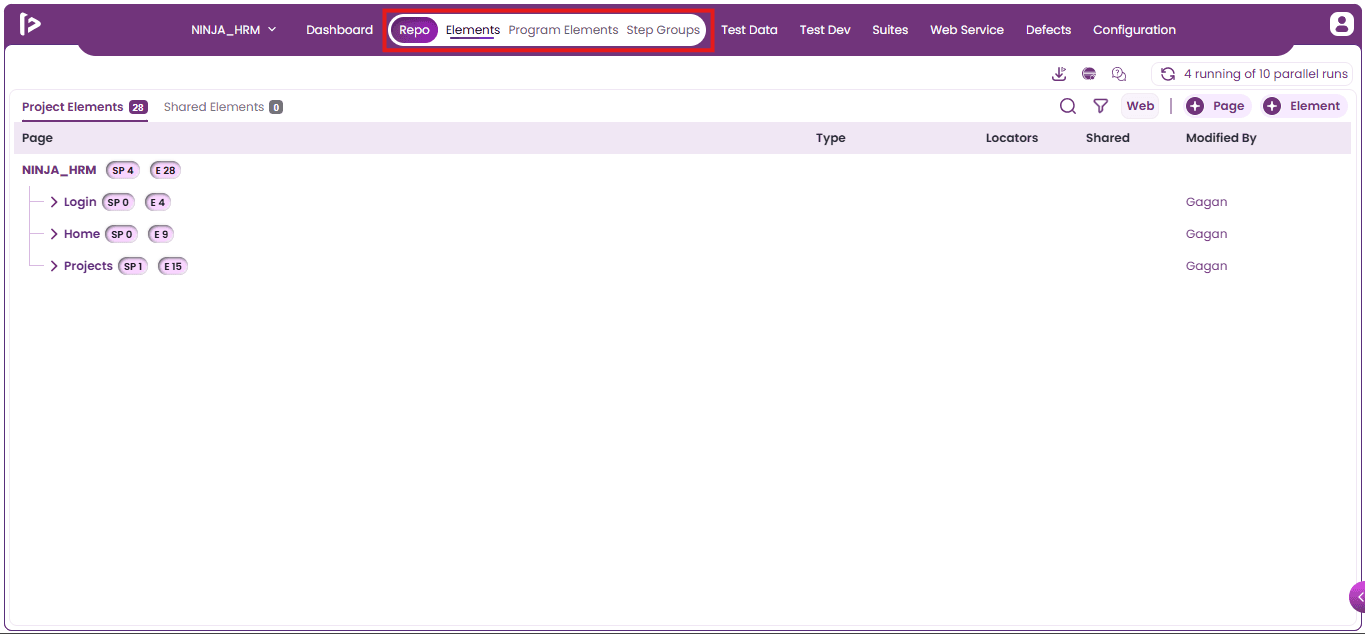
- Click on Program Elements as shown in the below screenshot.
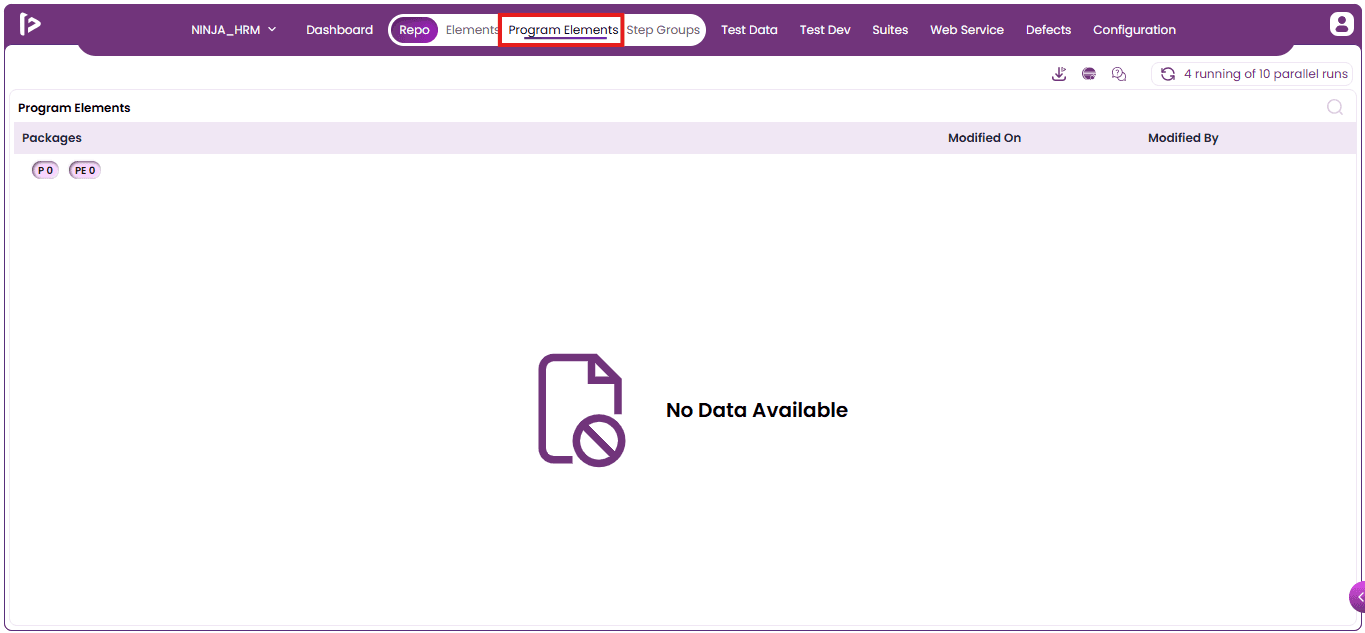
Steps to customize Program Elements
Integrate FireFlink with Eclipse :
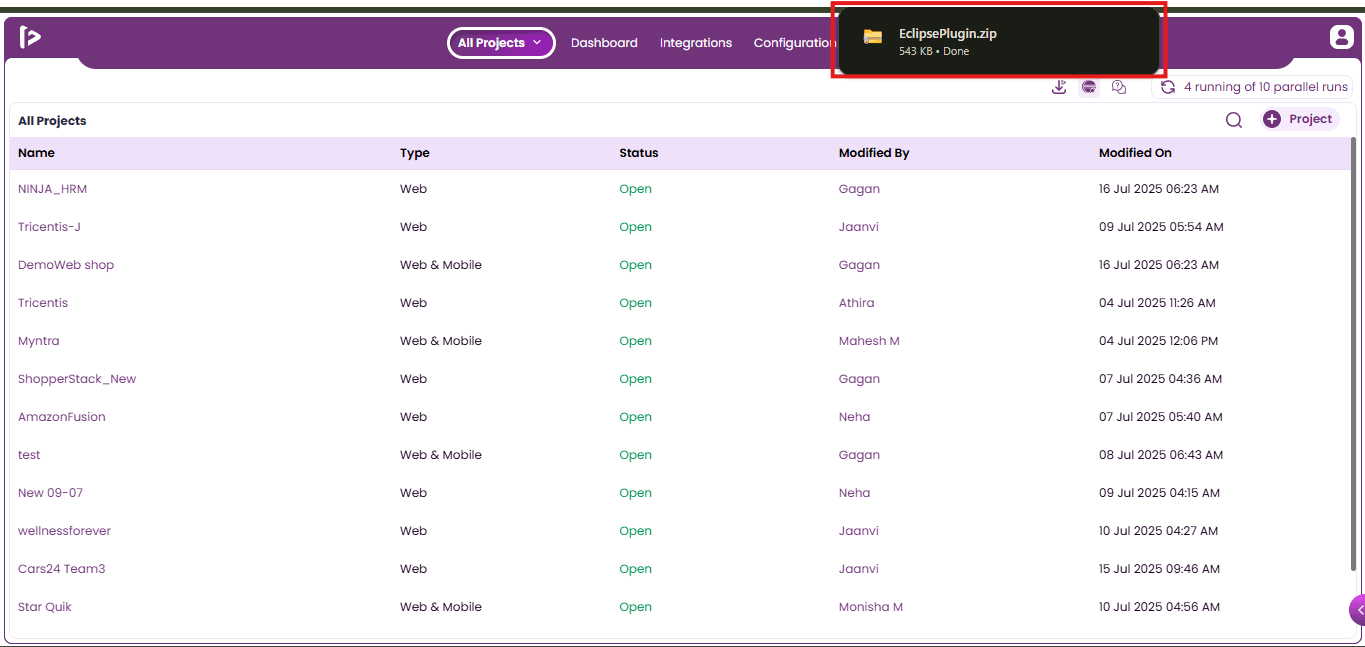
- Sign in to FireFlink and click the Eclipse Plugin from the top of the page in the All Projects section.
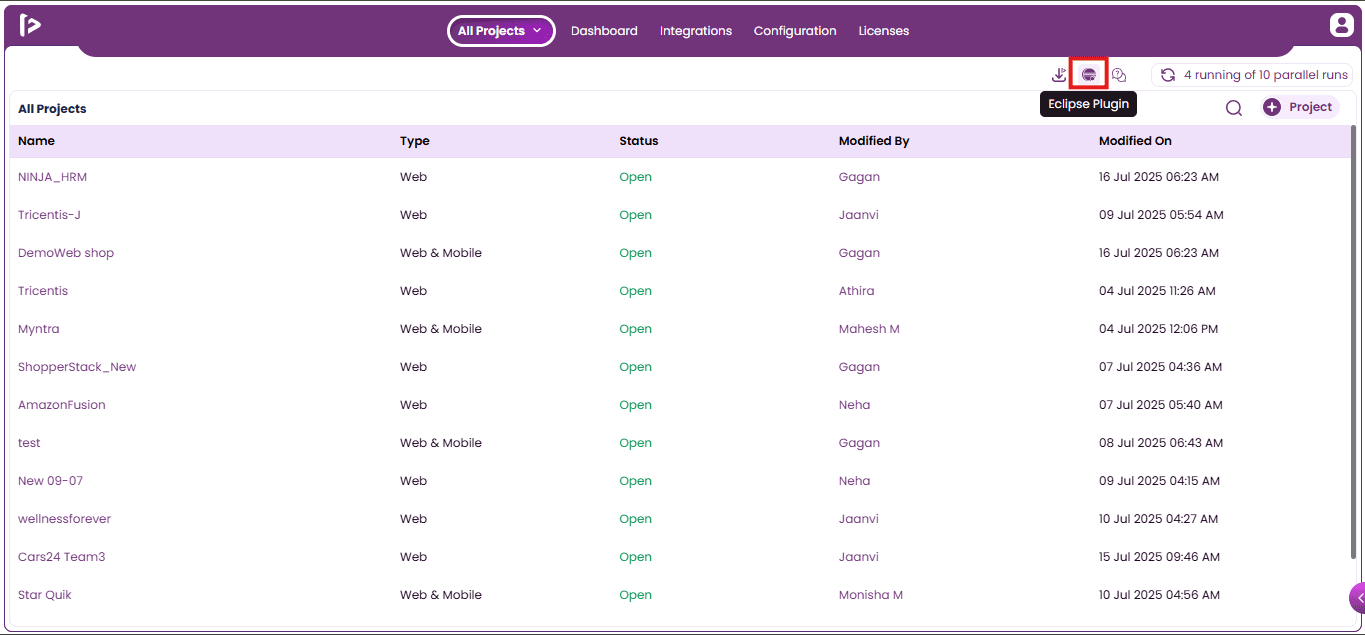
- Upon clicking, the Eclipse Plugin Zip file will be downloaded as shown below.
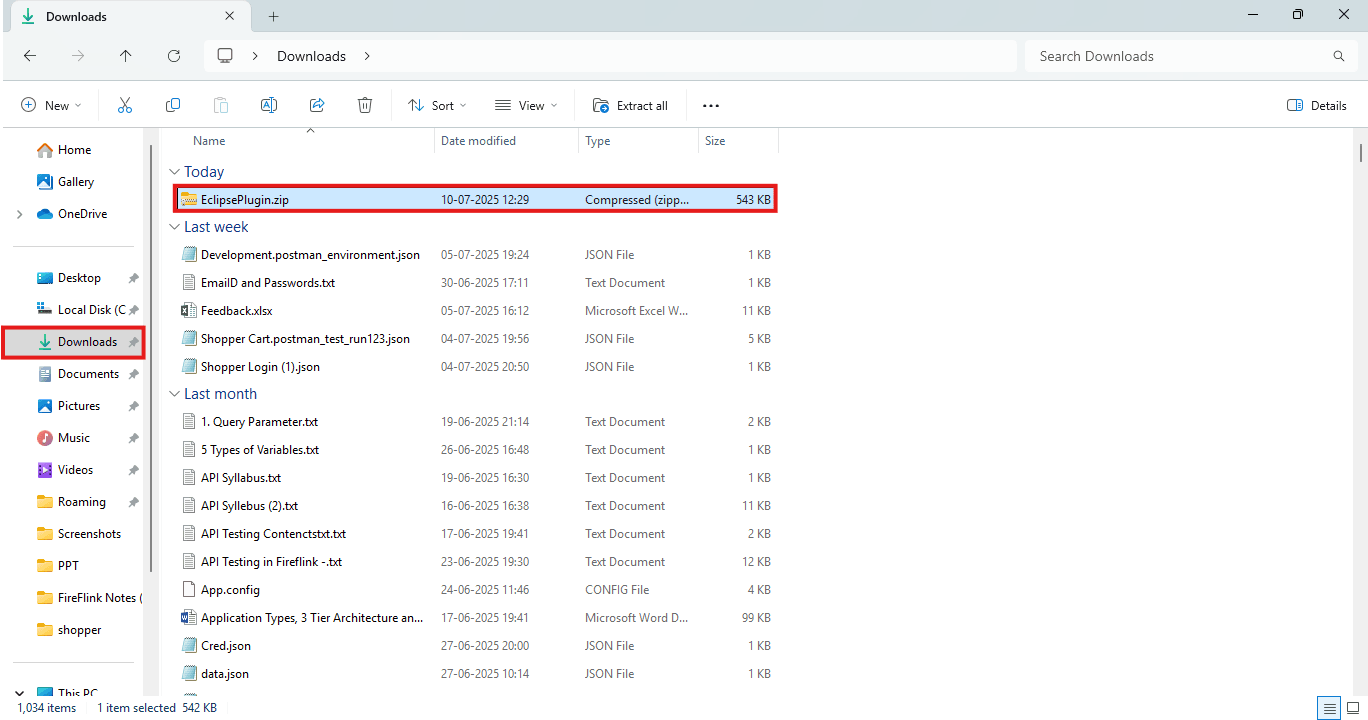
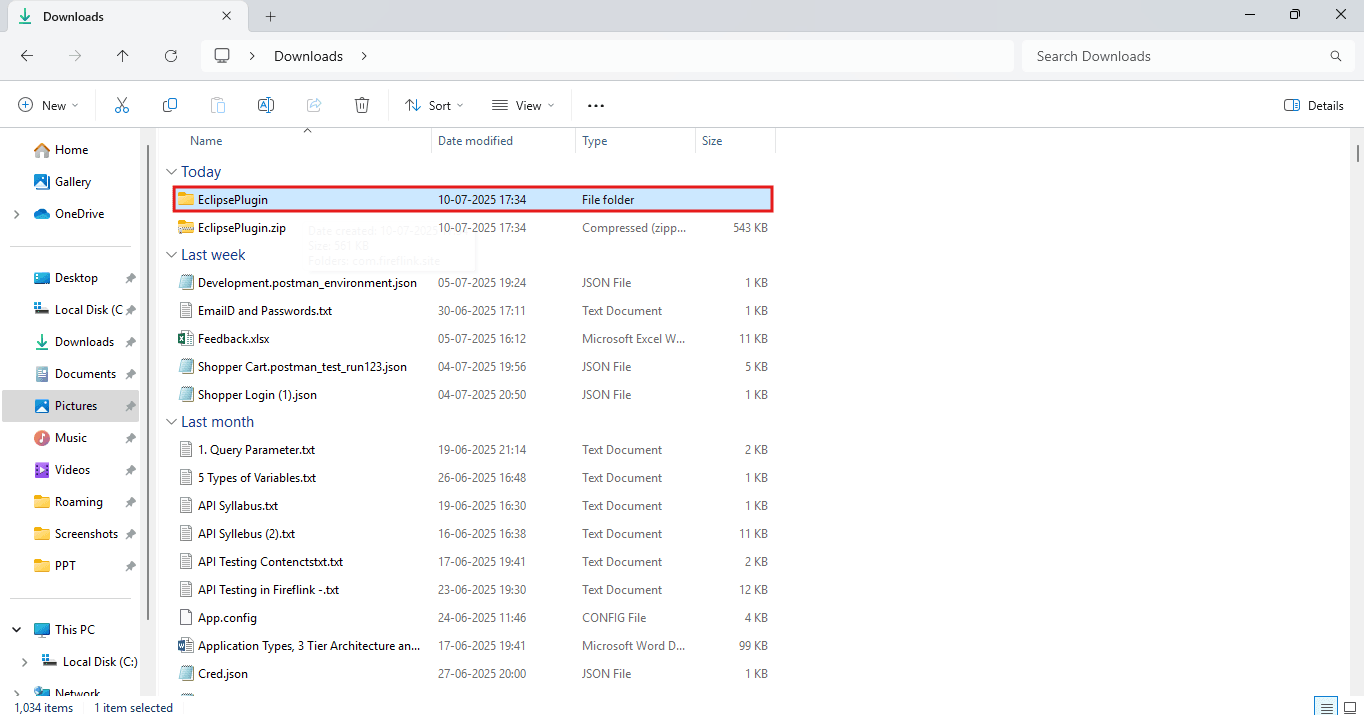
- After the download is complete, navigate to the Downloads folder where the user finds the downloaded EclipsePlugin.zip file.
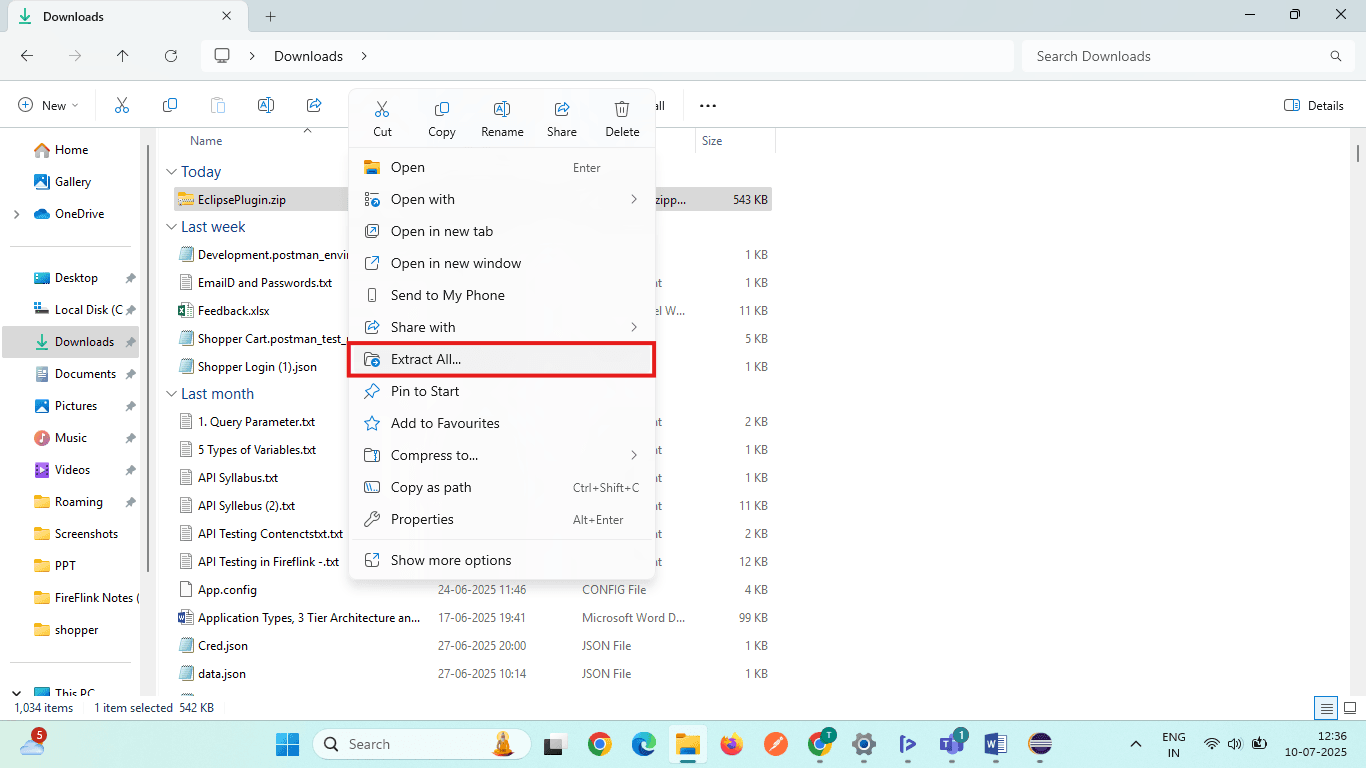
Extract the Folder :
- Right Click on the Downloads folder and Click on Extract All.
- Click on the Extract button on the popup.
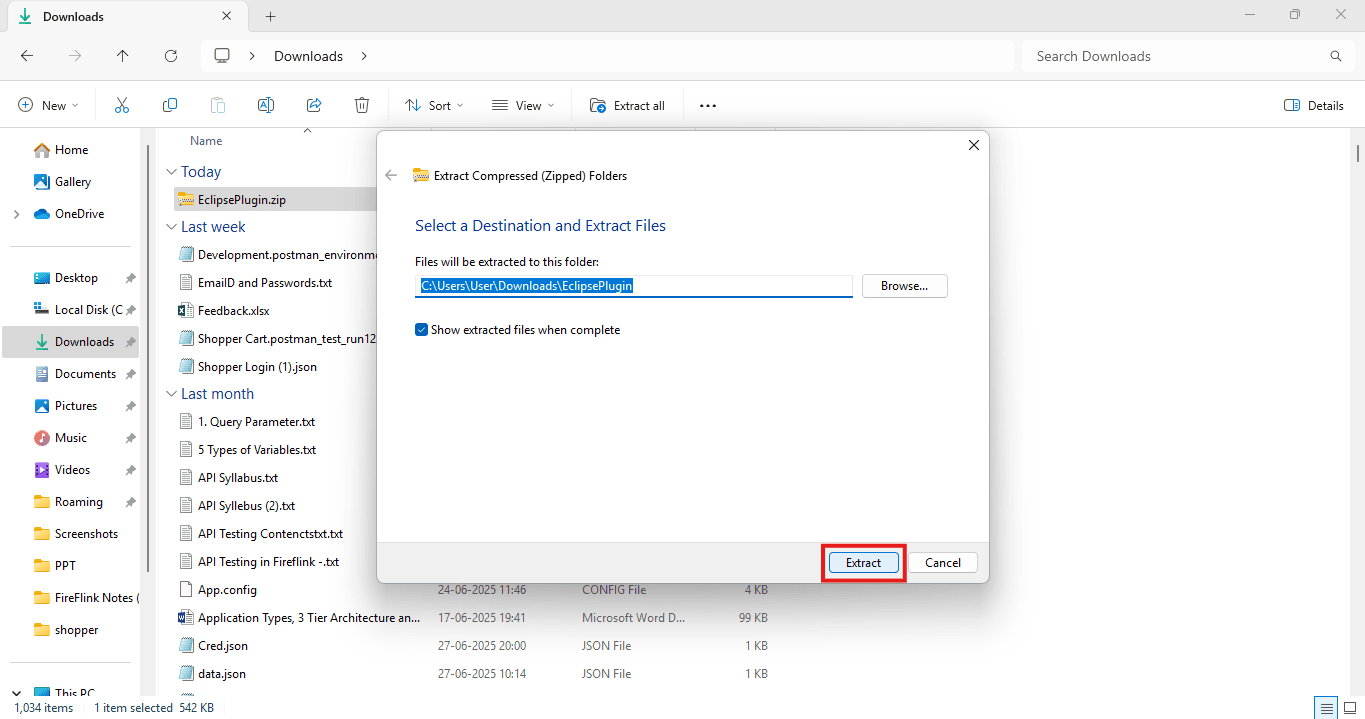
- The com.fireflink.site folder has been extracted.
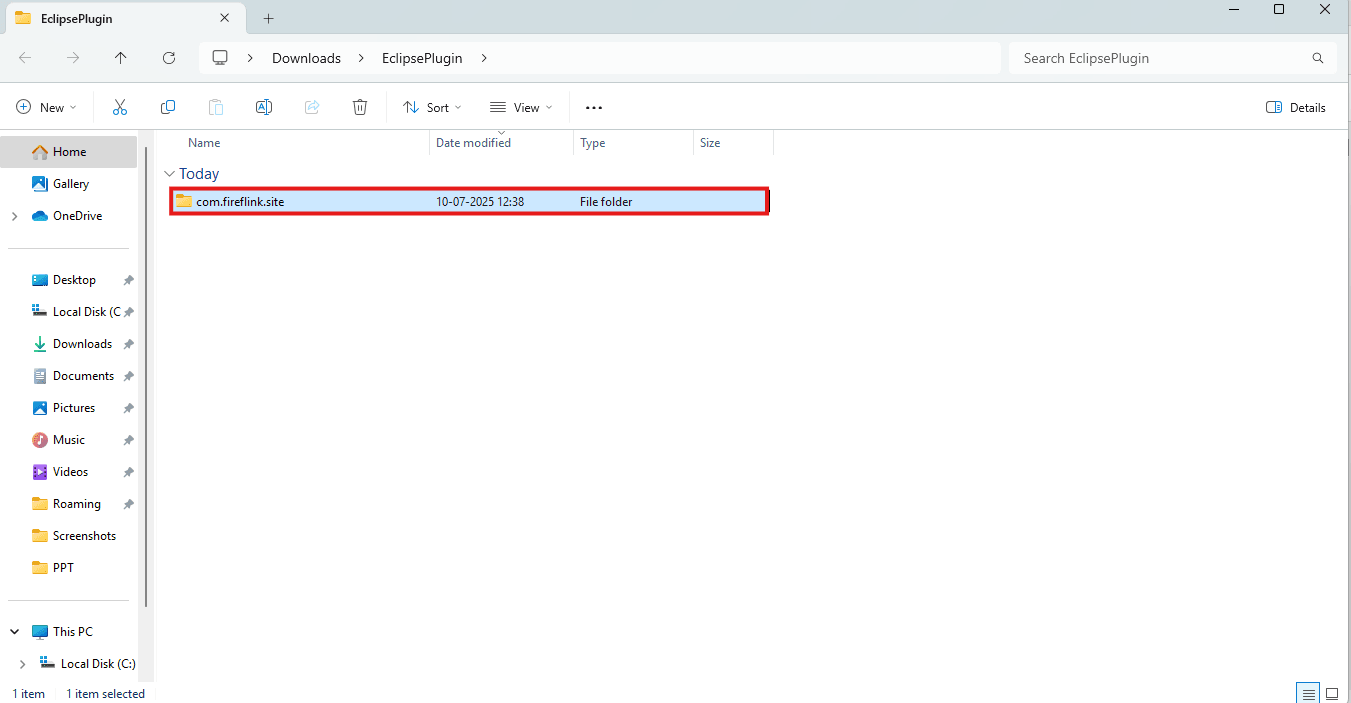
- The extracted Eclipse plugin folder will be visible when the user comes back.
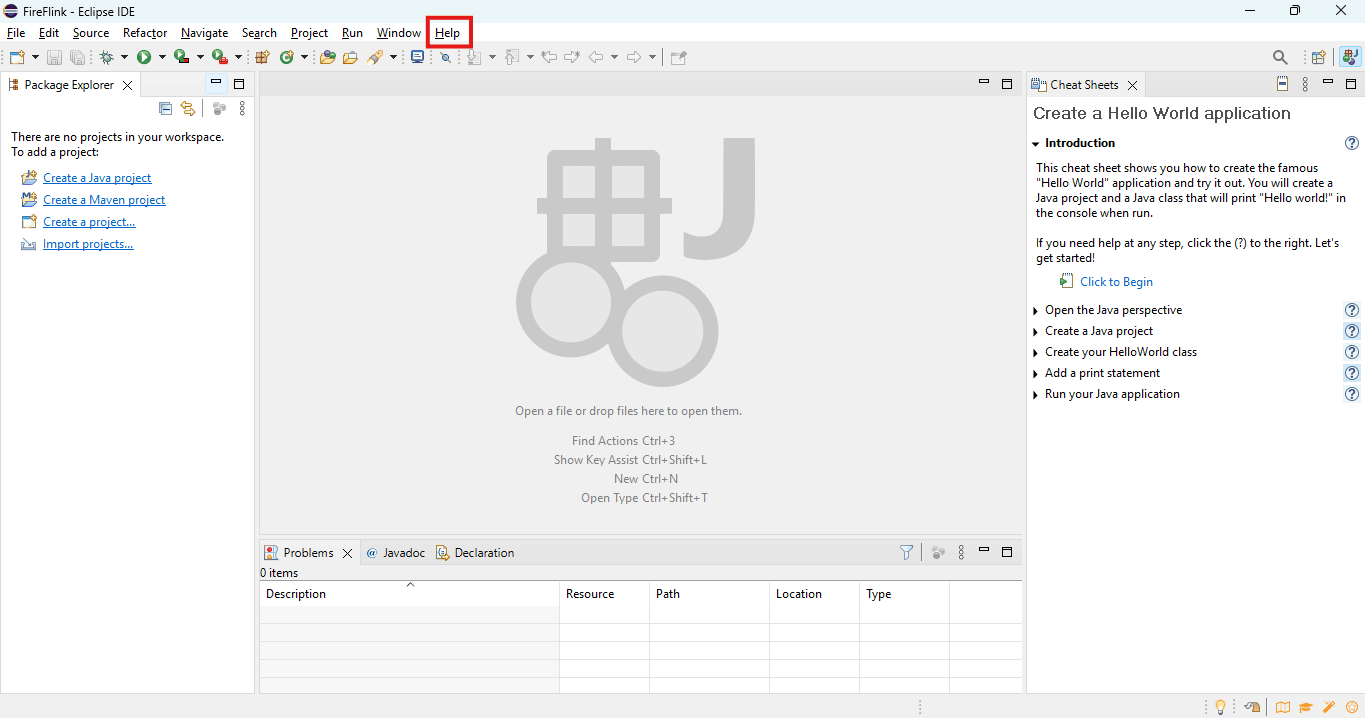
Launch the eclipse :
- Launch Eclipse, then click Help from the top navigation bar.
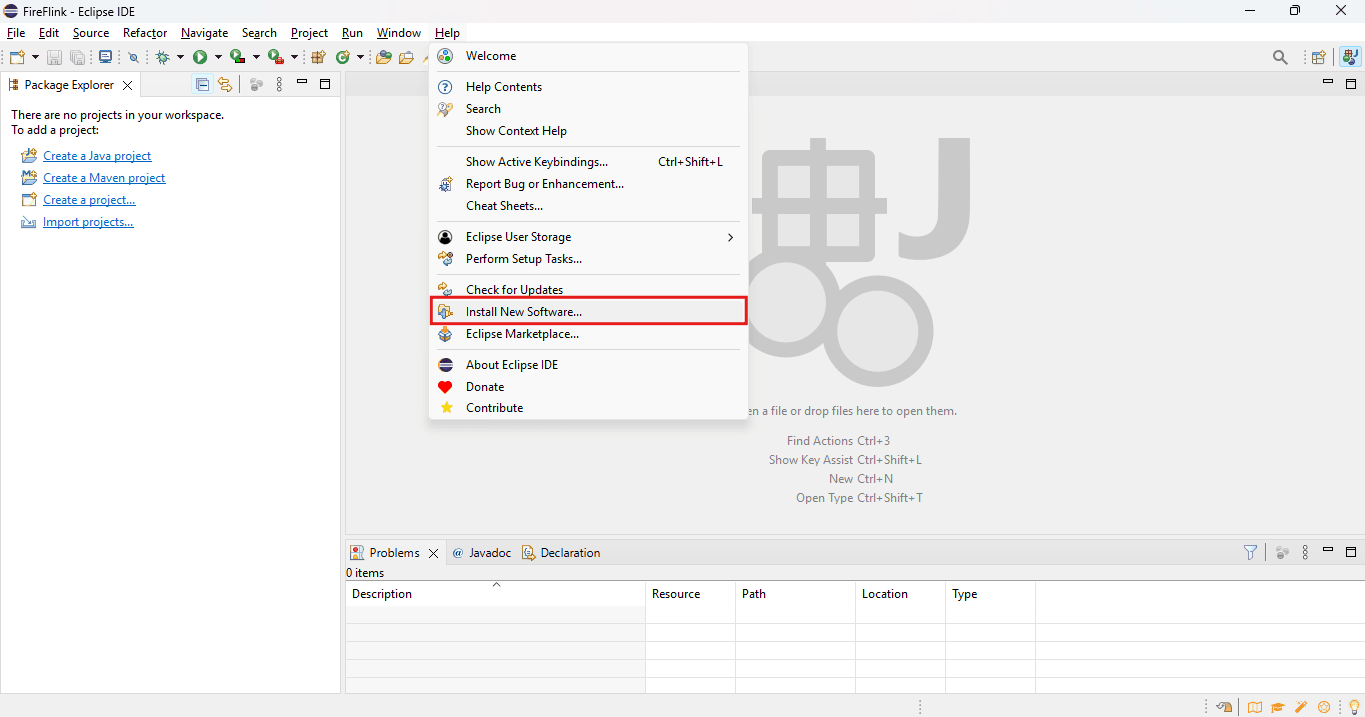
- Click on Install new software.
- Click the Add… button in the Available Software window.
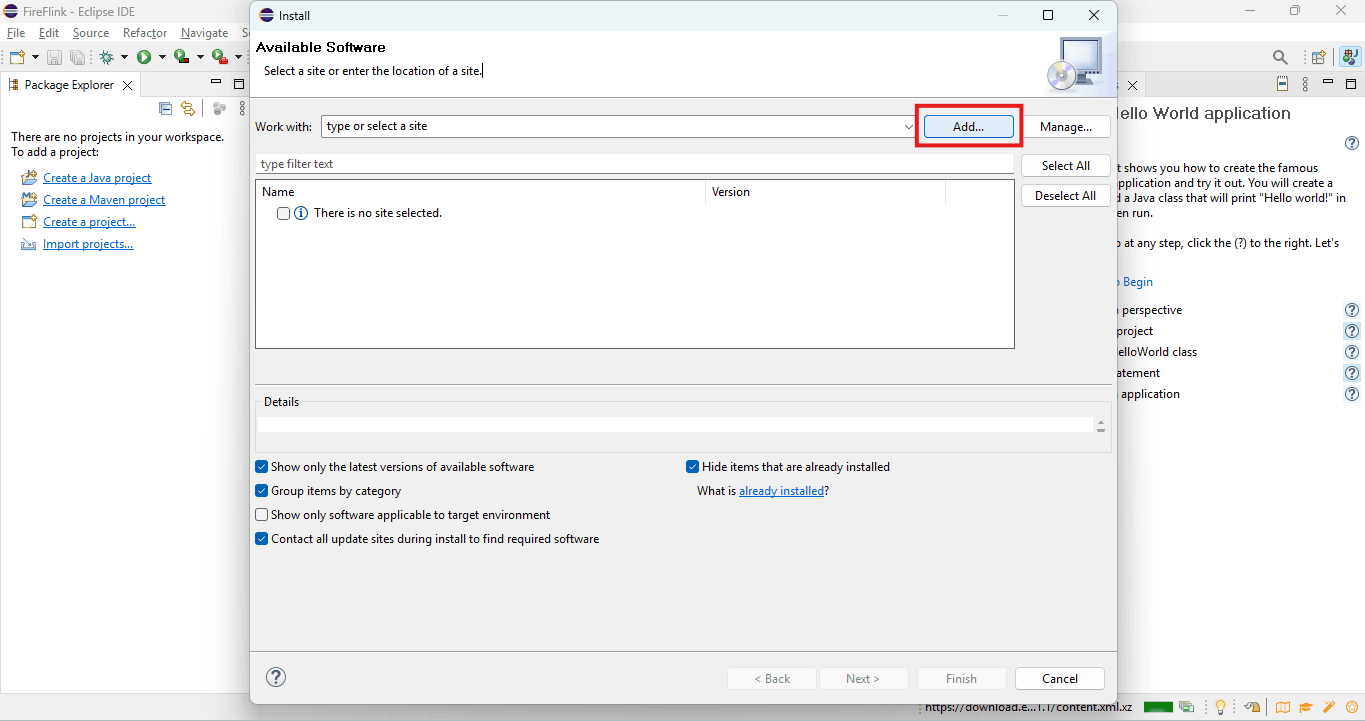
- Click the Local button in the Add Repository window.
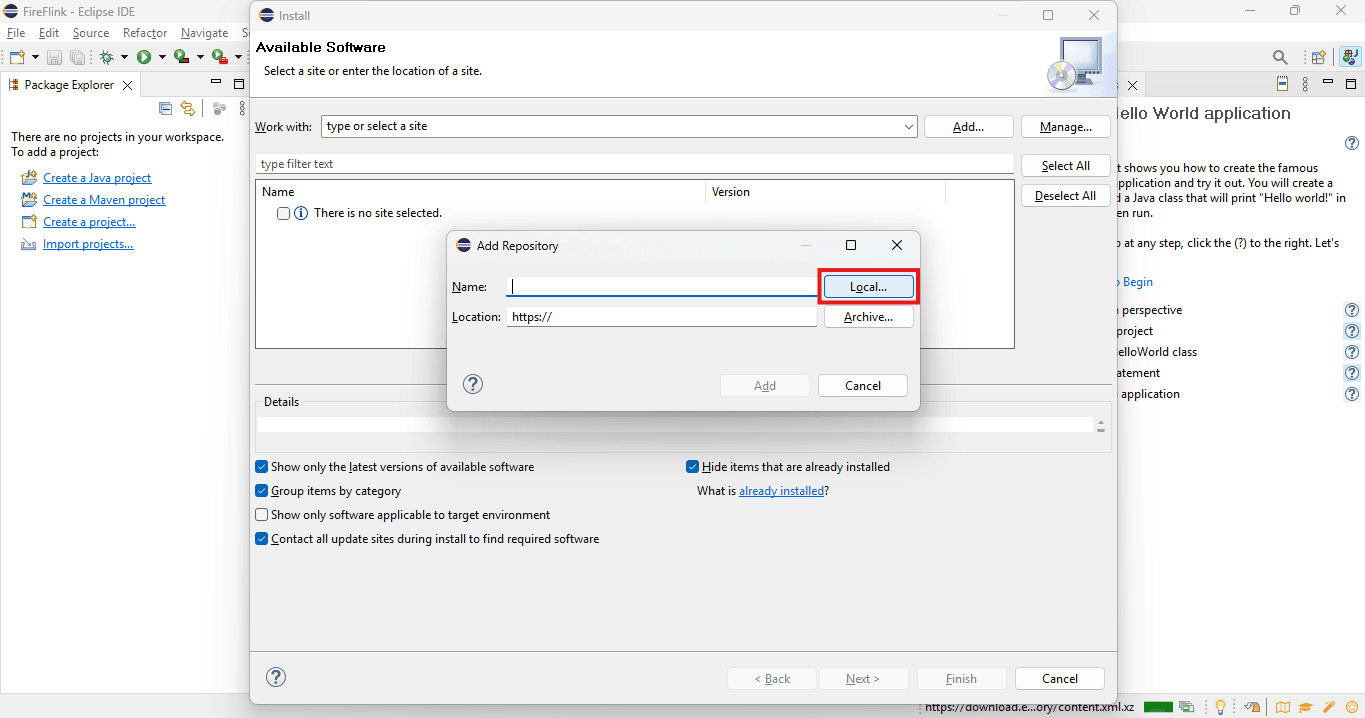
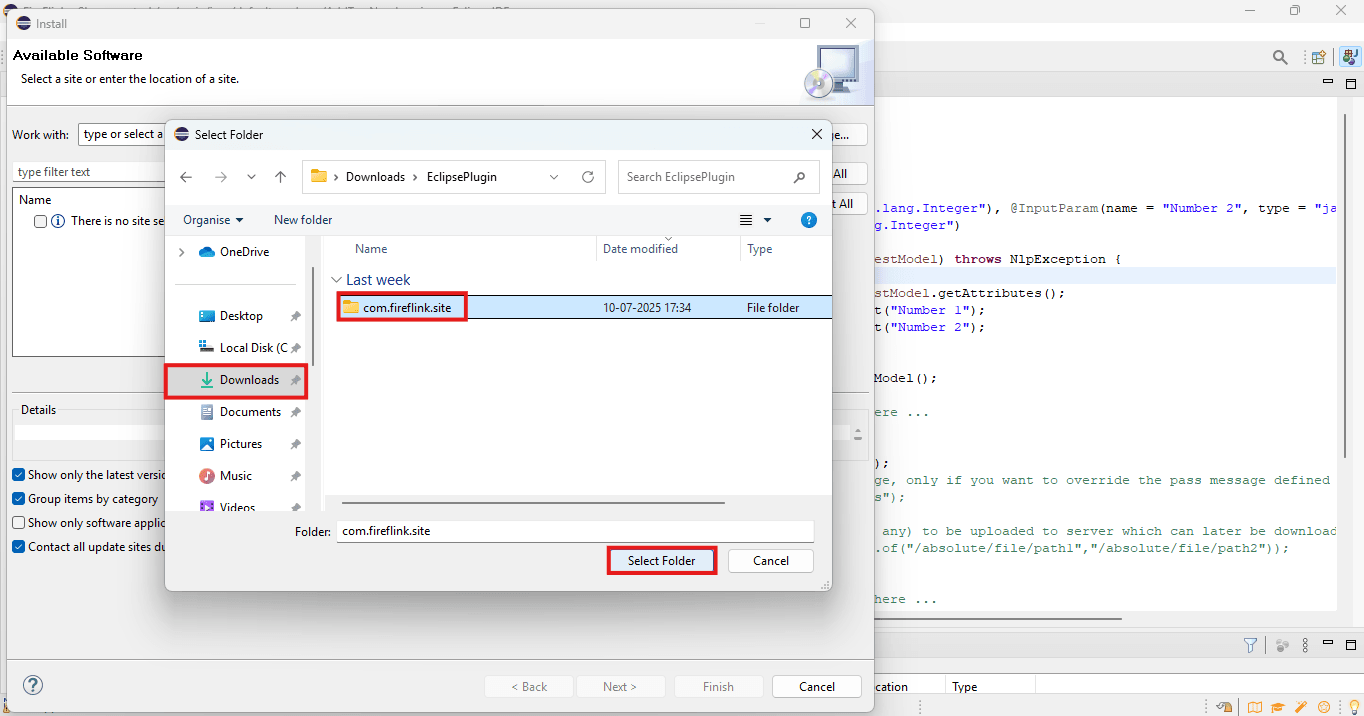
- Select the folder inside the unzipped directory (i.e., com.fireflink.site) and click on the Select Folder button.
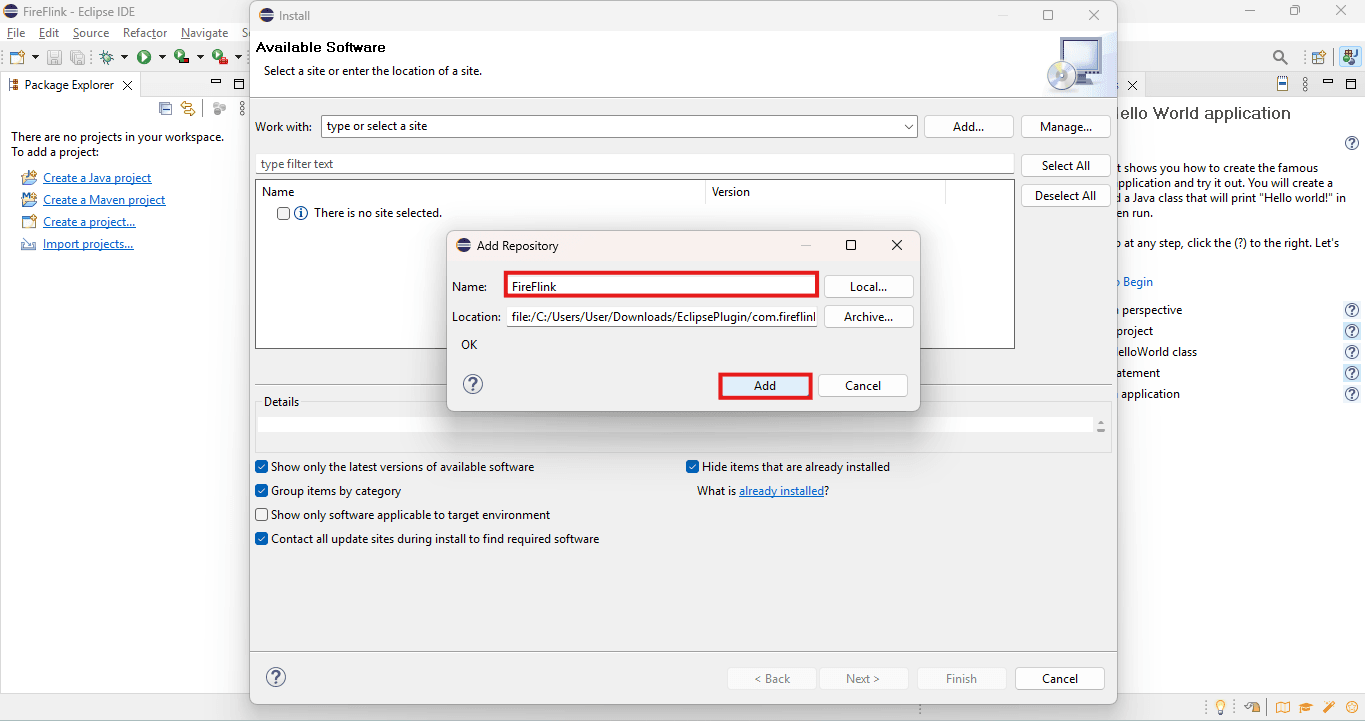
- Enter FireFlink in the Name text field of the Add Repository popup, then click the Add button.
- Check the FireFlink box under the Name column.
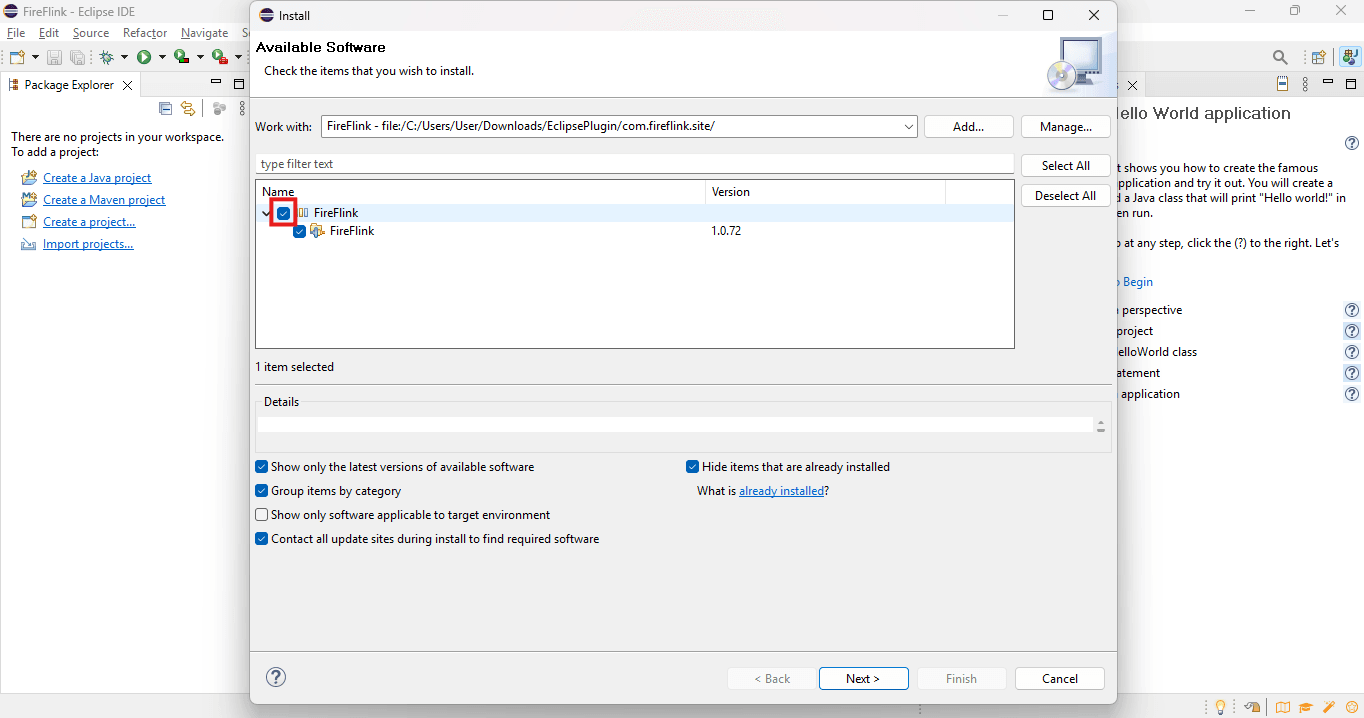
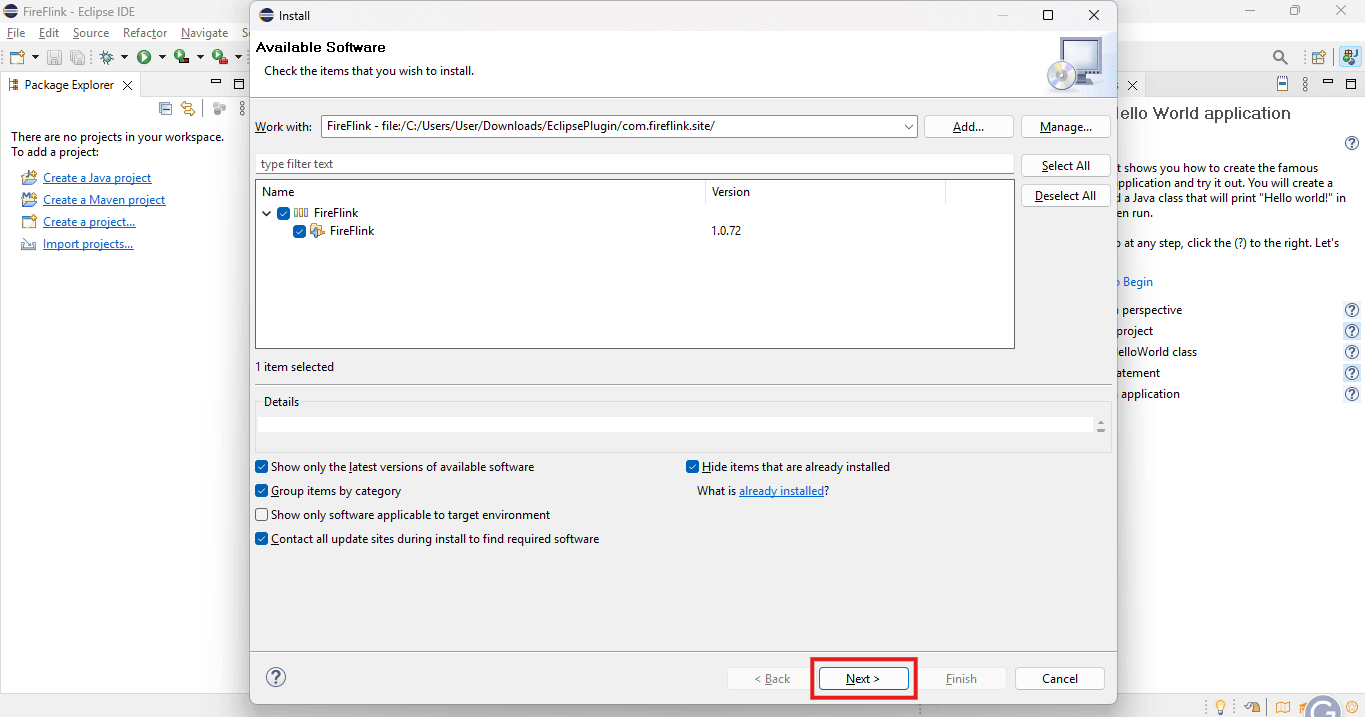
- Click the Next button on the Install window.
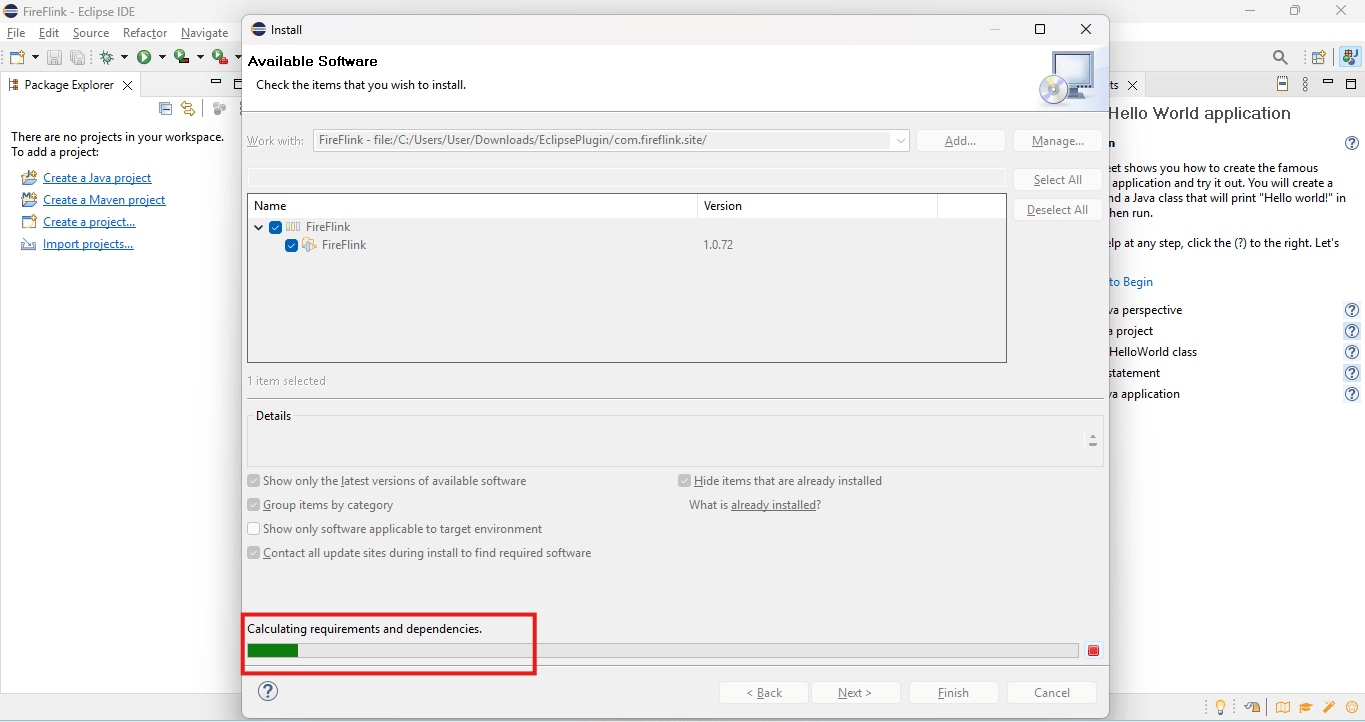
- The plugin has started installing in Eclipse.
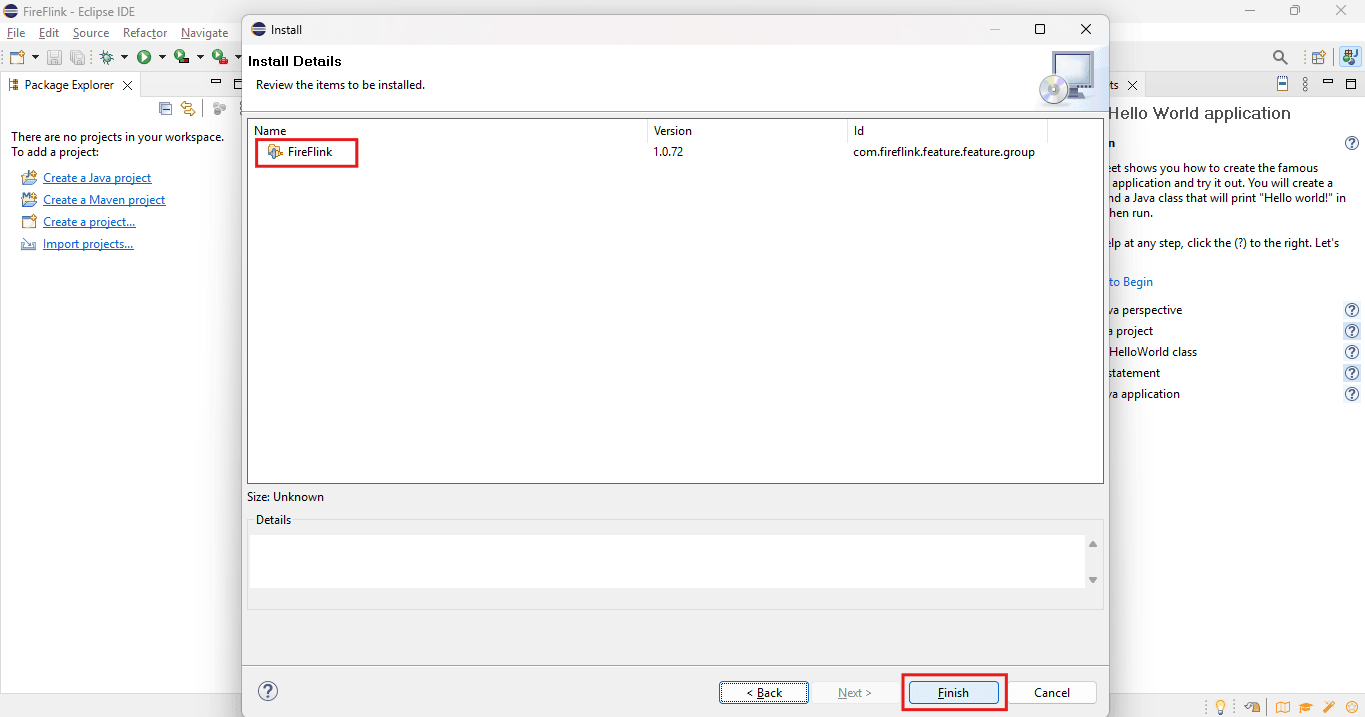
- Once the installation is complete, the user can see FireFlink listed in the Install Details window. Then, click the Finish button.
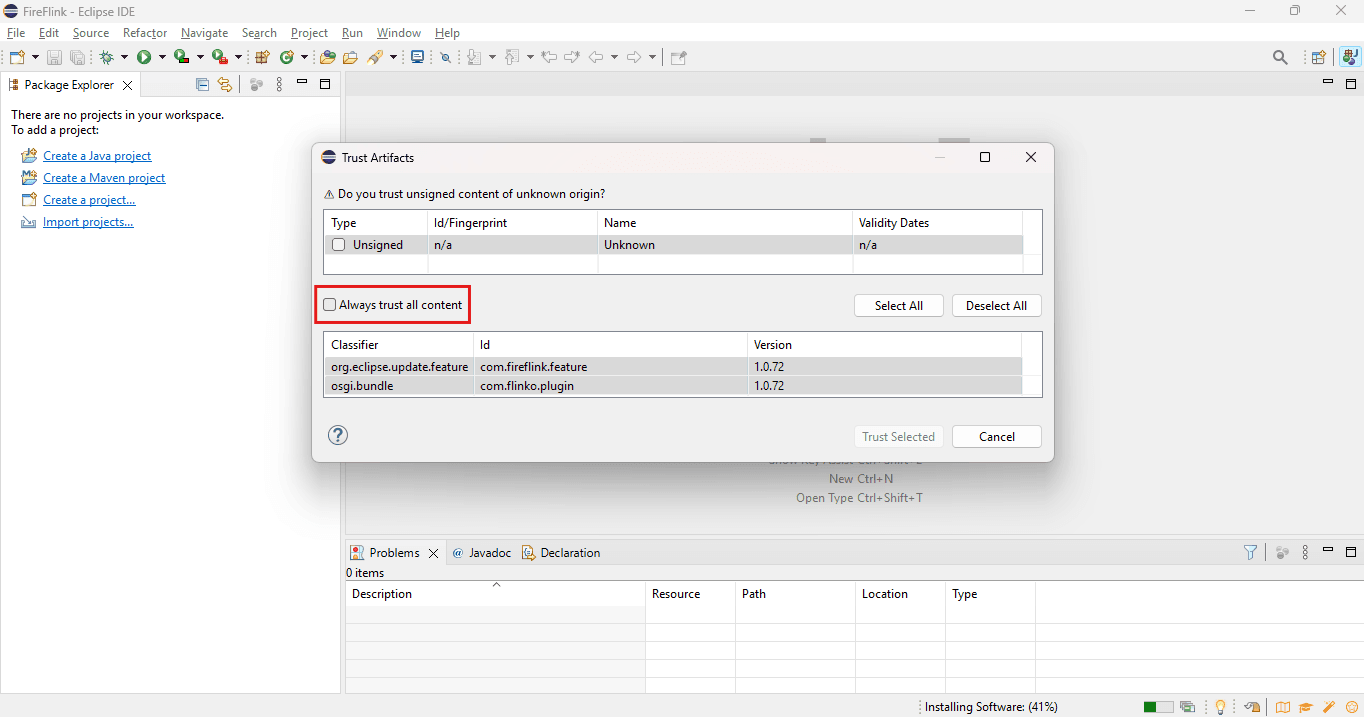
- The user will be prompted to trust the artifacts. Select the Always trust all contents checkbox.
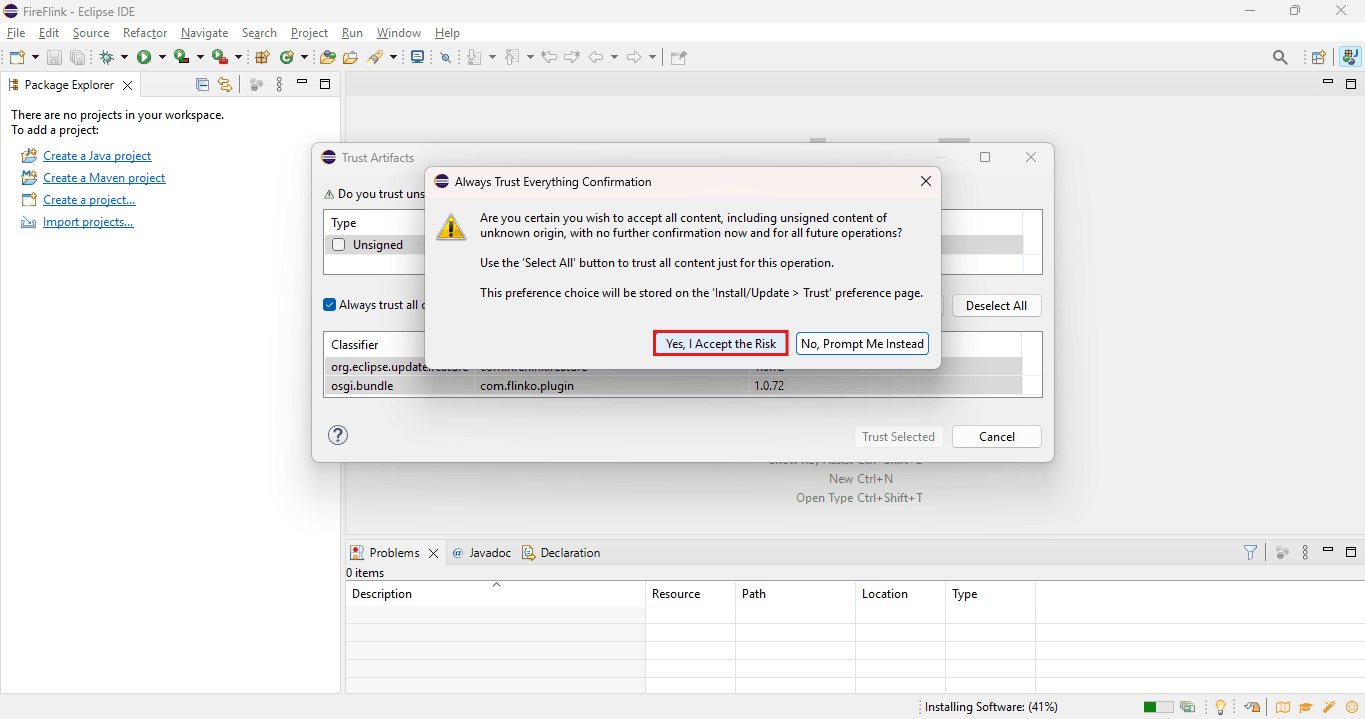
- Click the Yes, I Accept the Risk button in the popup.
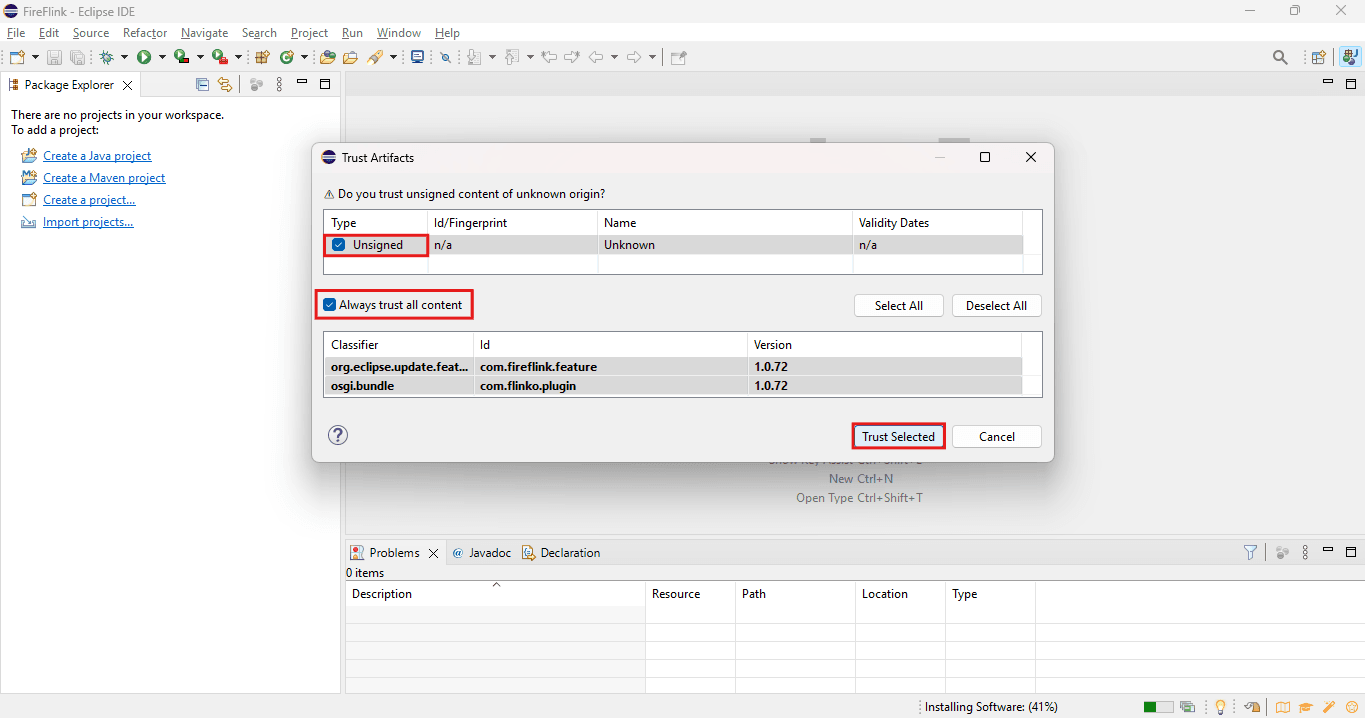
- After selecting the Unsigned and Always trust all contents checkboxes, click on the Trust Selected button.
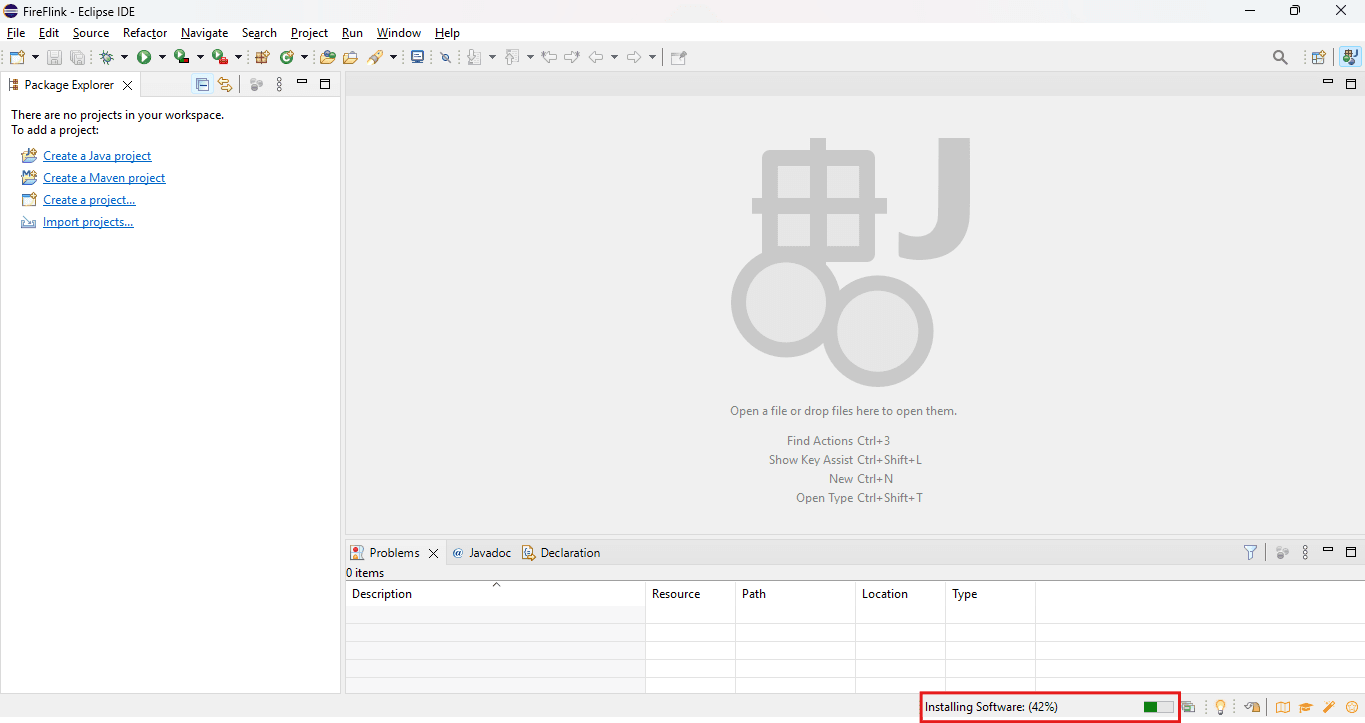
- The software is now installed, kindly wait for a moment.
- Click the Restart Now button to restart Eclipse after the software installation.
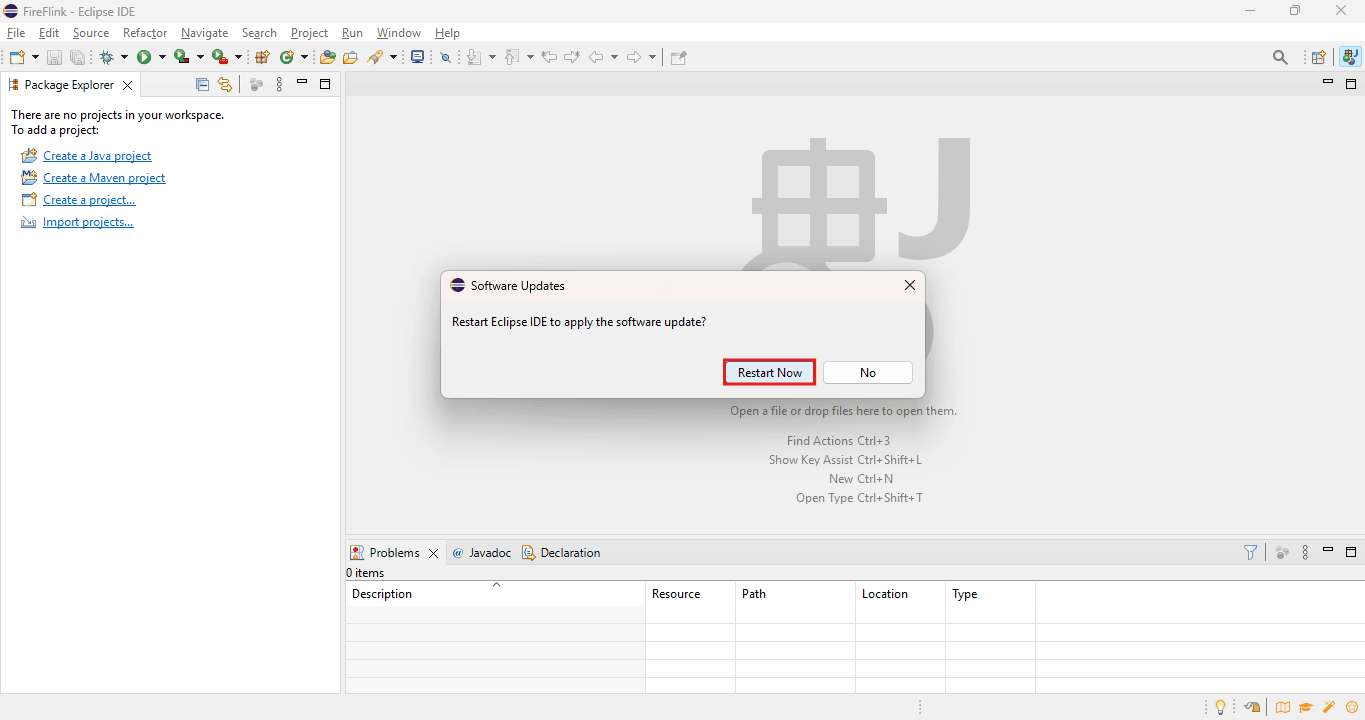
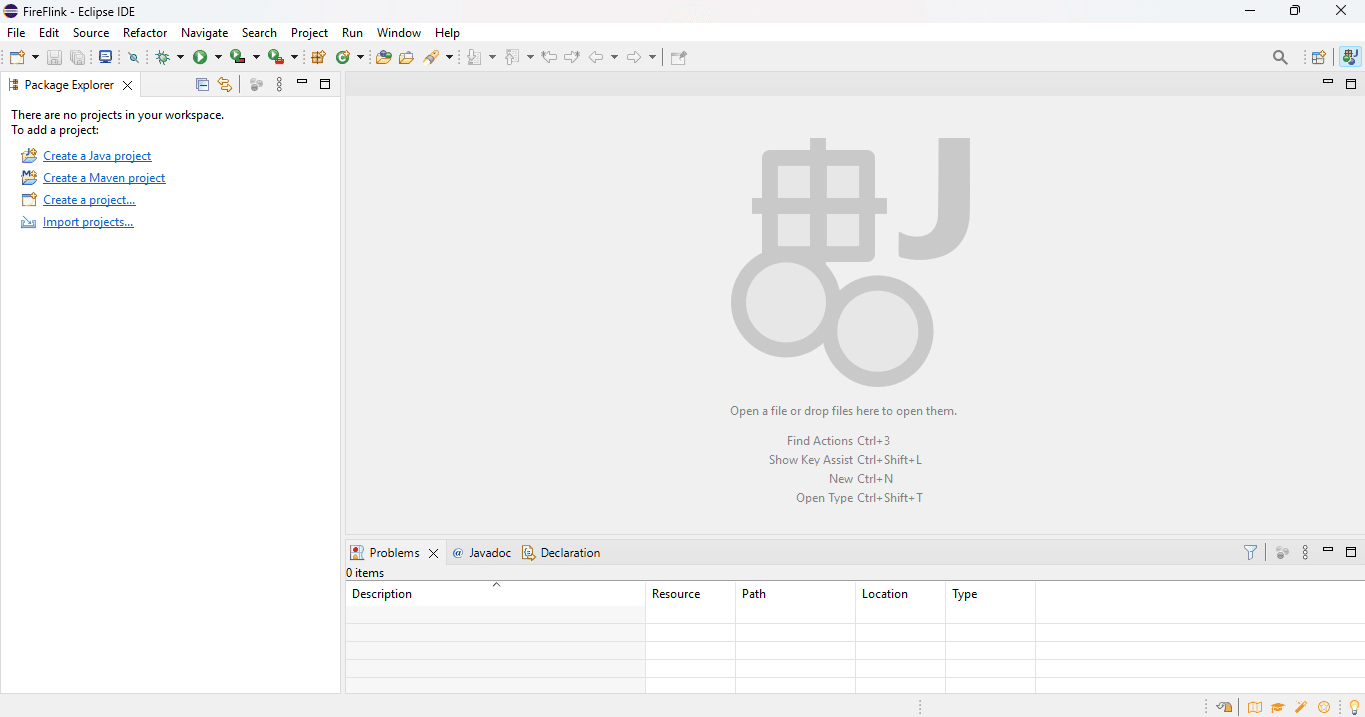
- Once restarted, Eclipse will launch again.
How to see if FireFlink is installed in Eclipse?
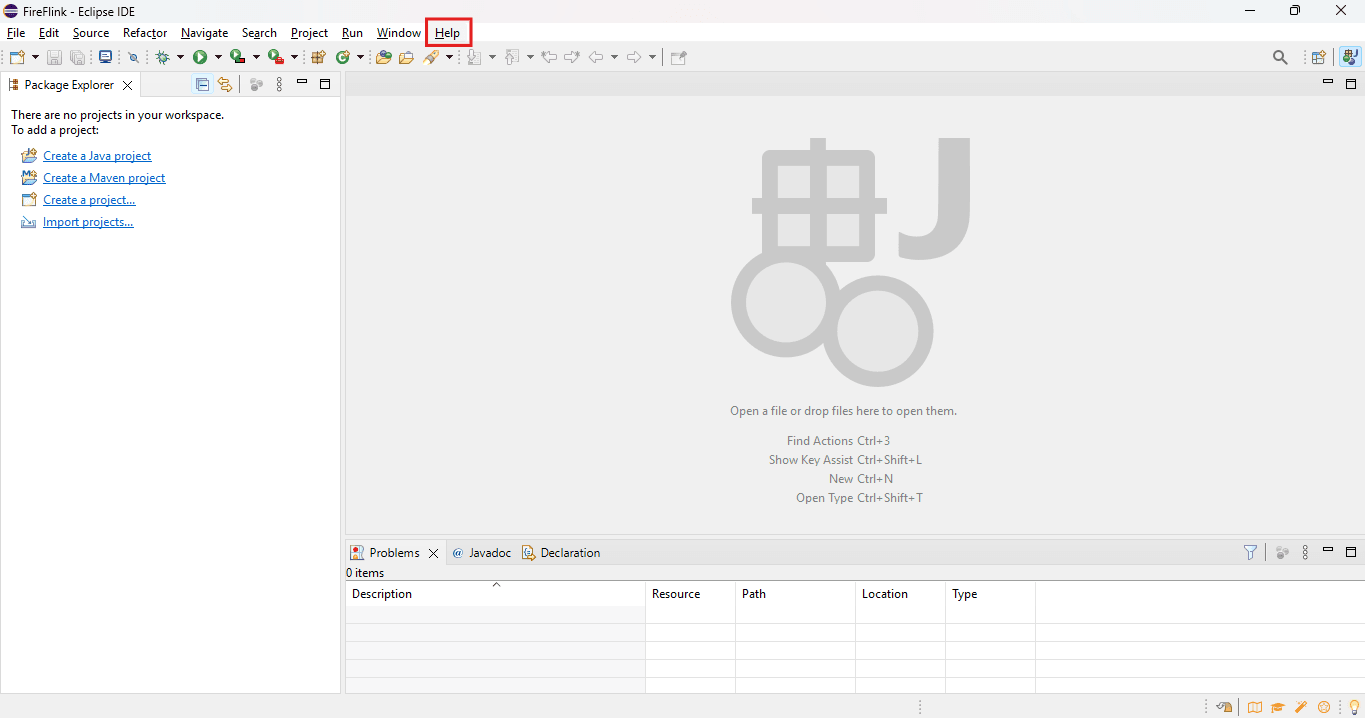
- Click on Help in the top navigation menu.
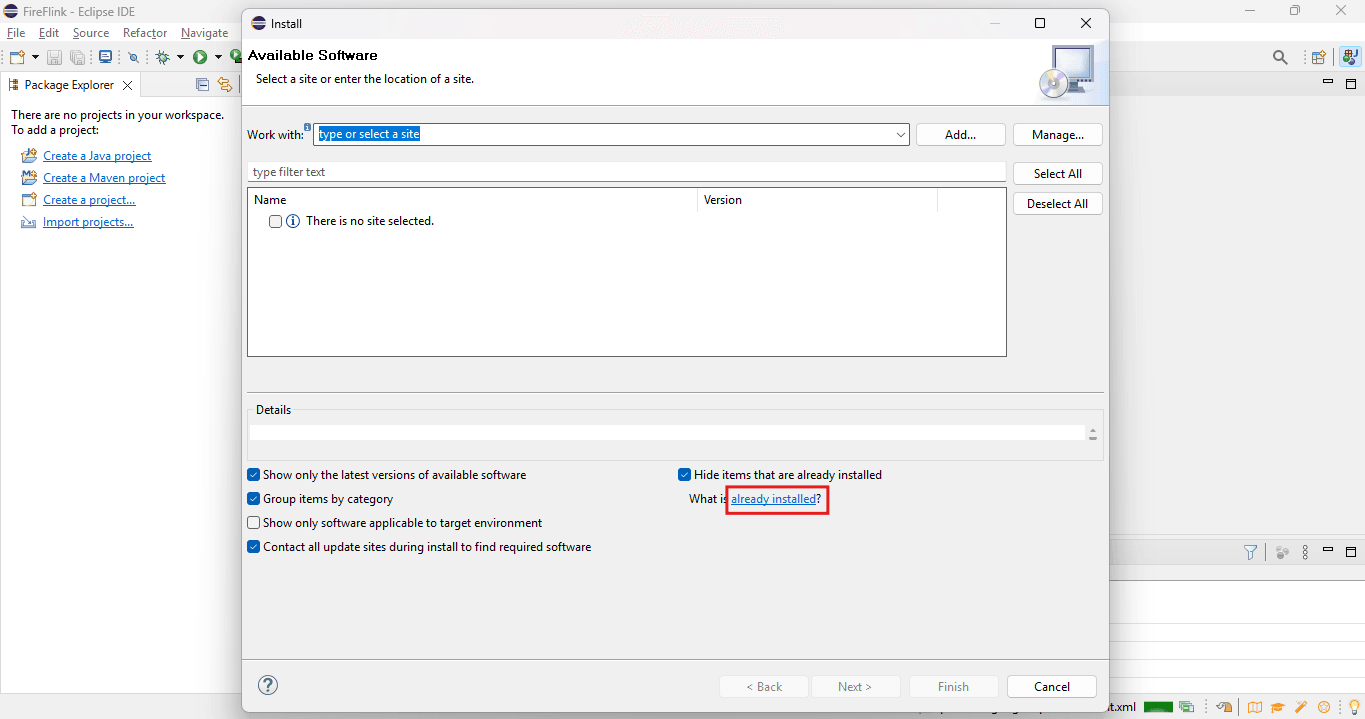
- Click on Install new software
- Click on already installed? link on the window.
- FireFlink is visible under the Name column in Eclipse’s Installation Details page.
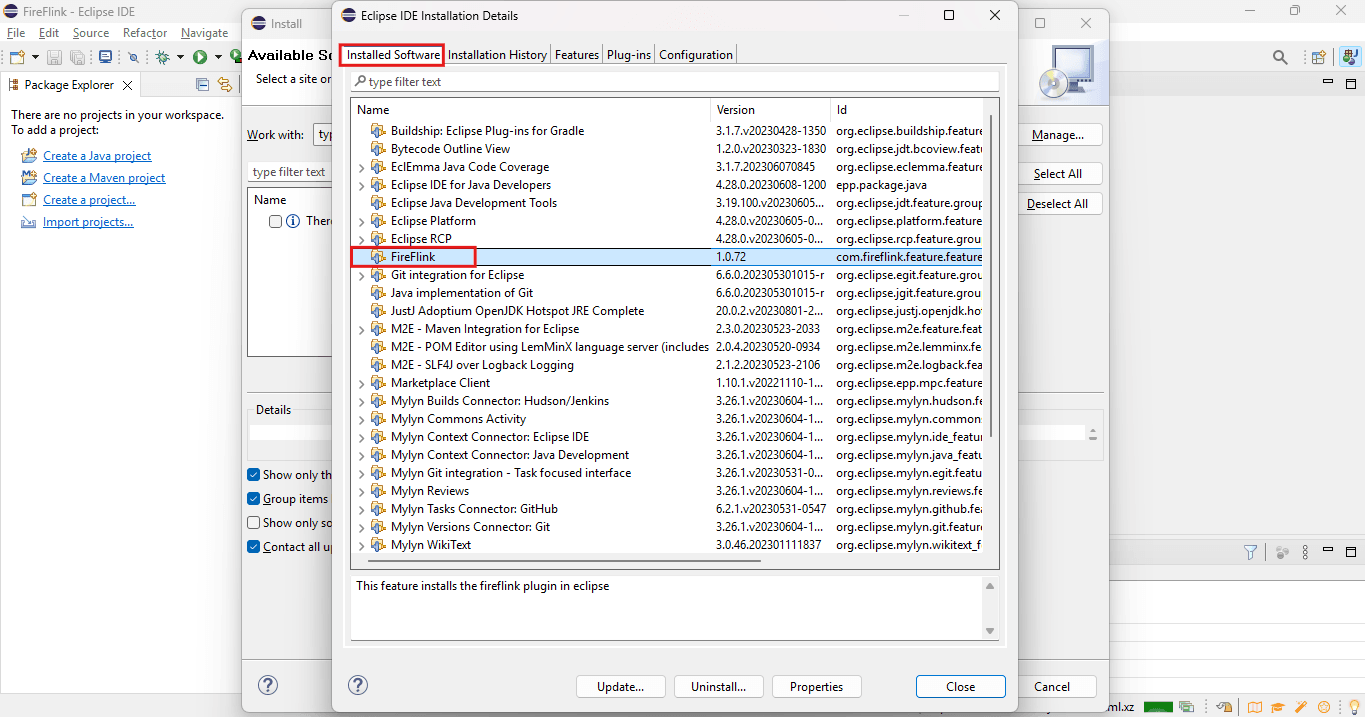
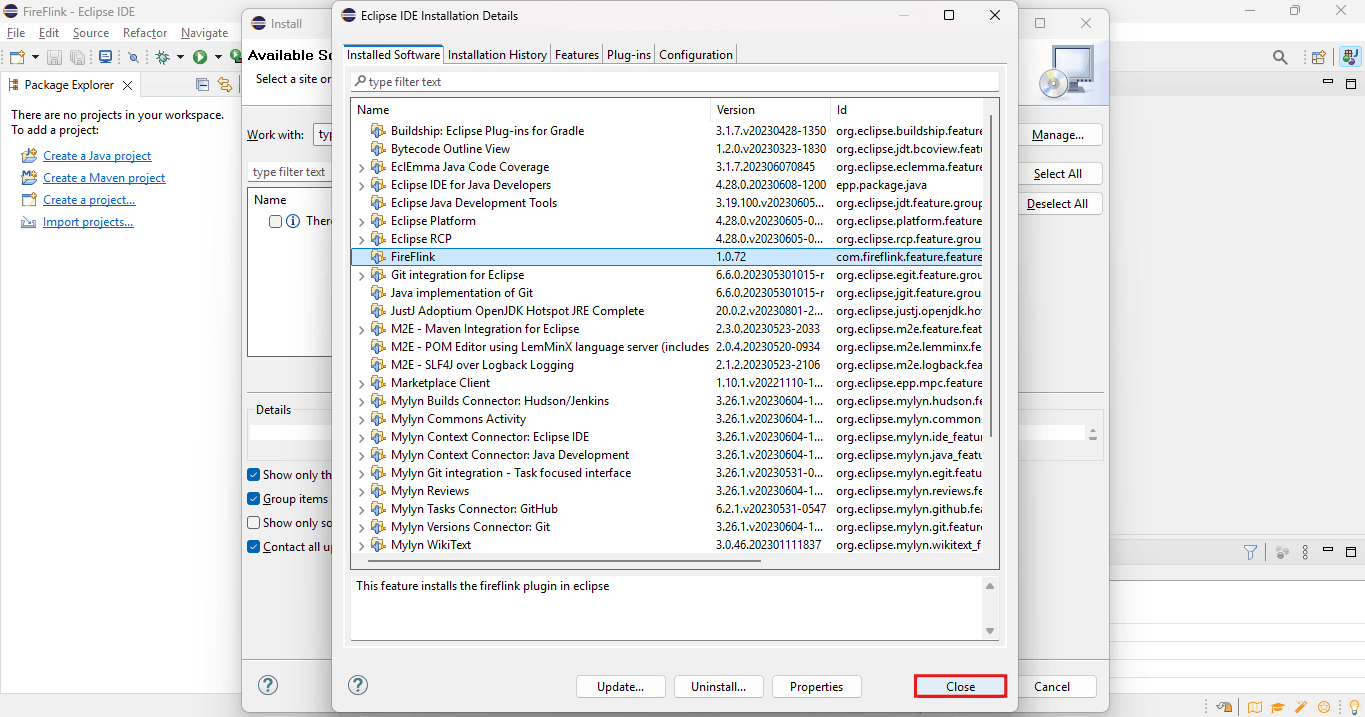
- Now, Close the Window by clicking on the Close button.
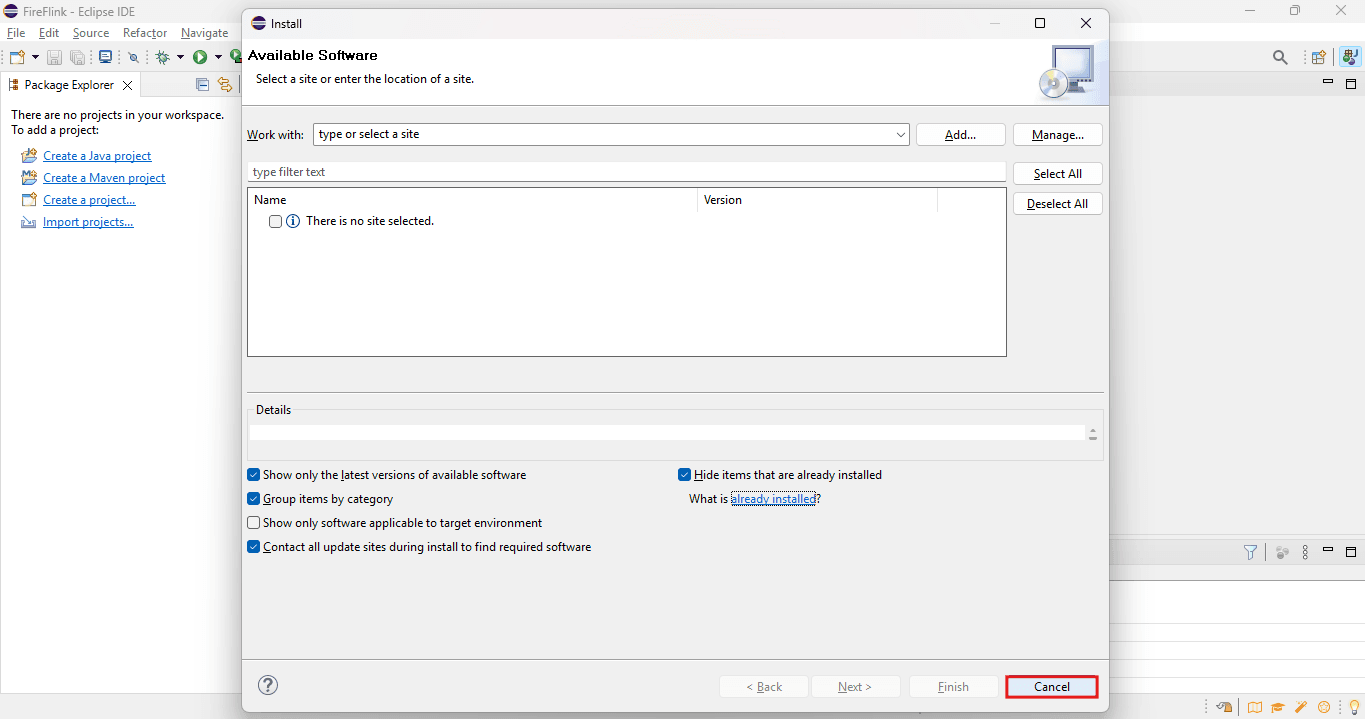
- Click on the Cancel button again.
Import the FireFlink project into Eclipse from FireFlink.
- In Eclipse, go to File > New > Other.
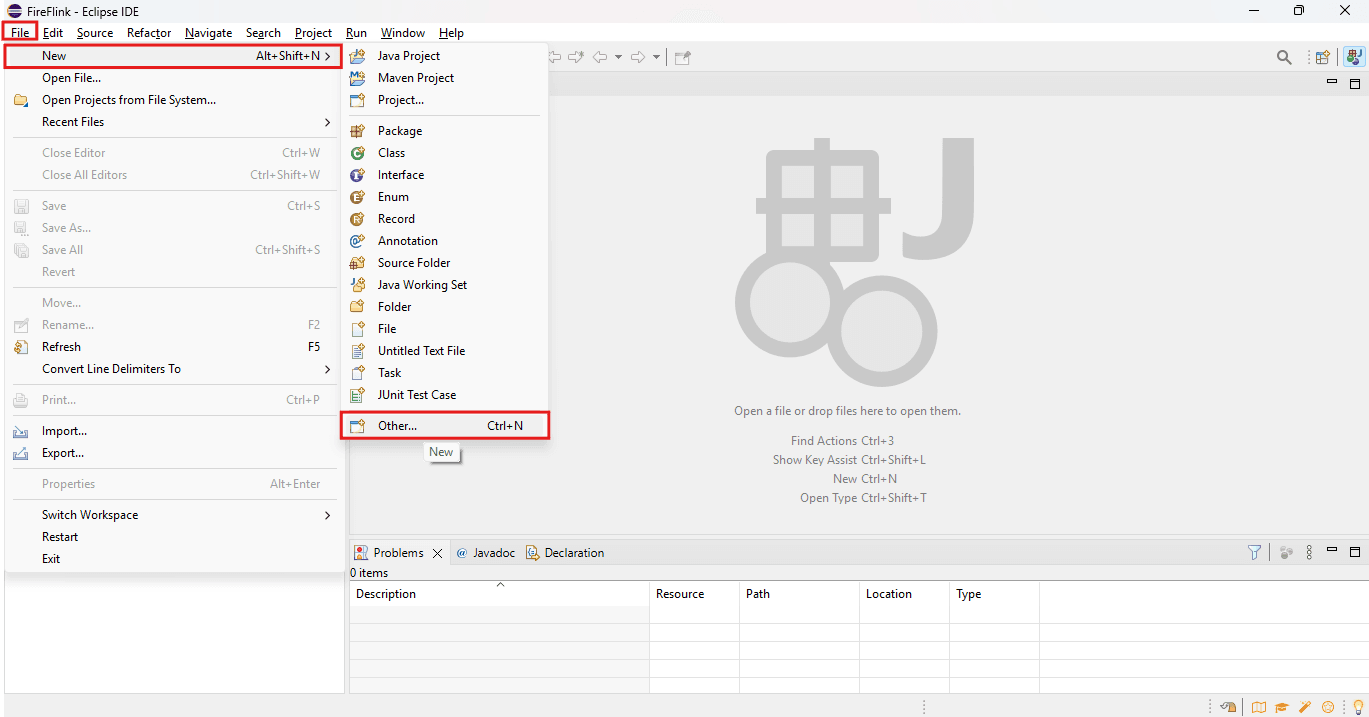
- Under the wizard, we can see FireFlink - Expand the FireFlink folder.
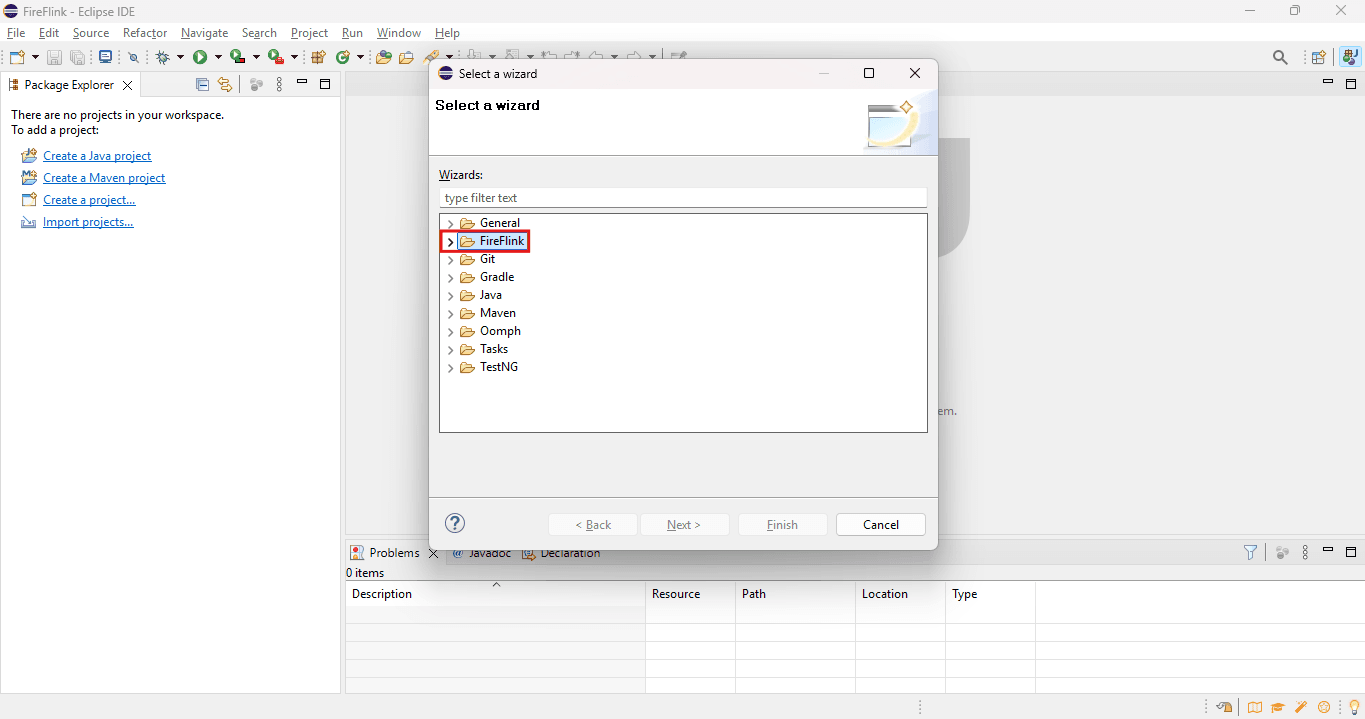
- Click on Import FireFlink Project.
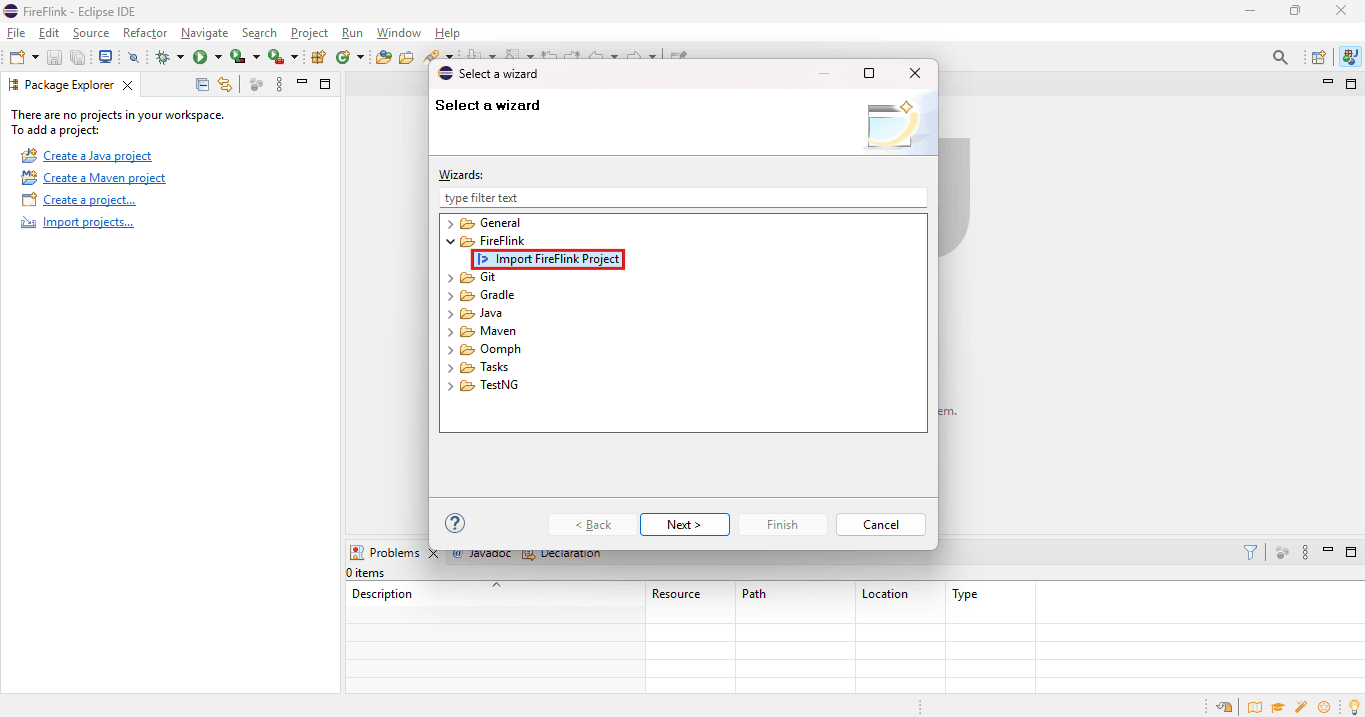
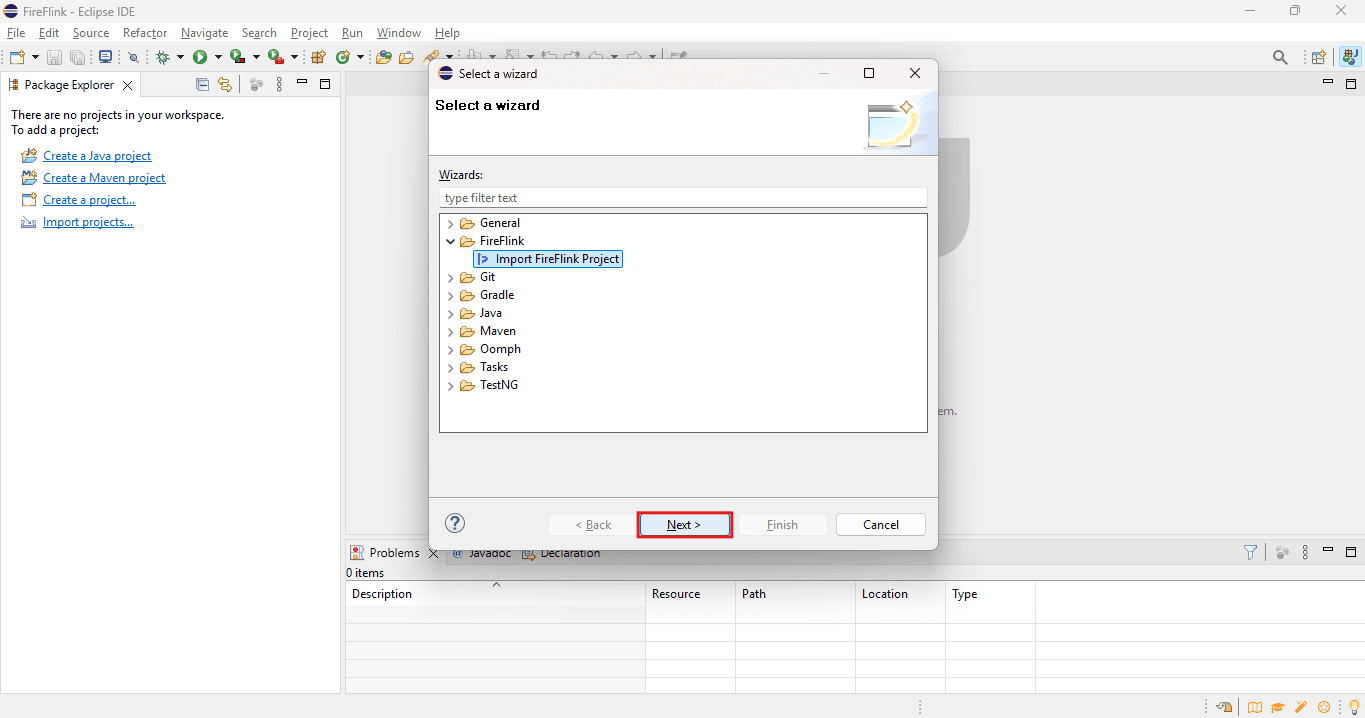
- Click on the Next button.
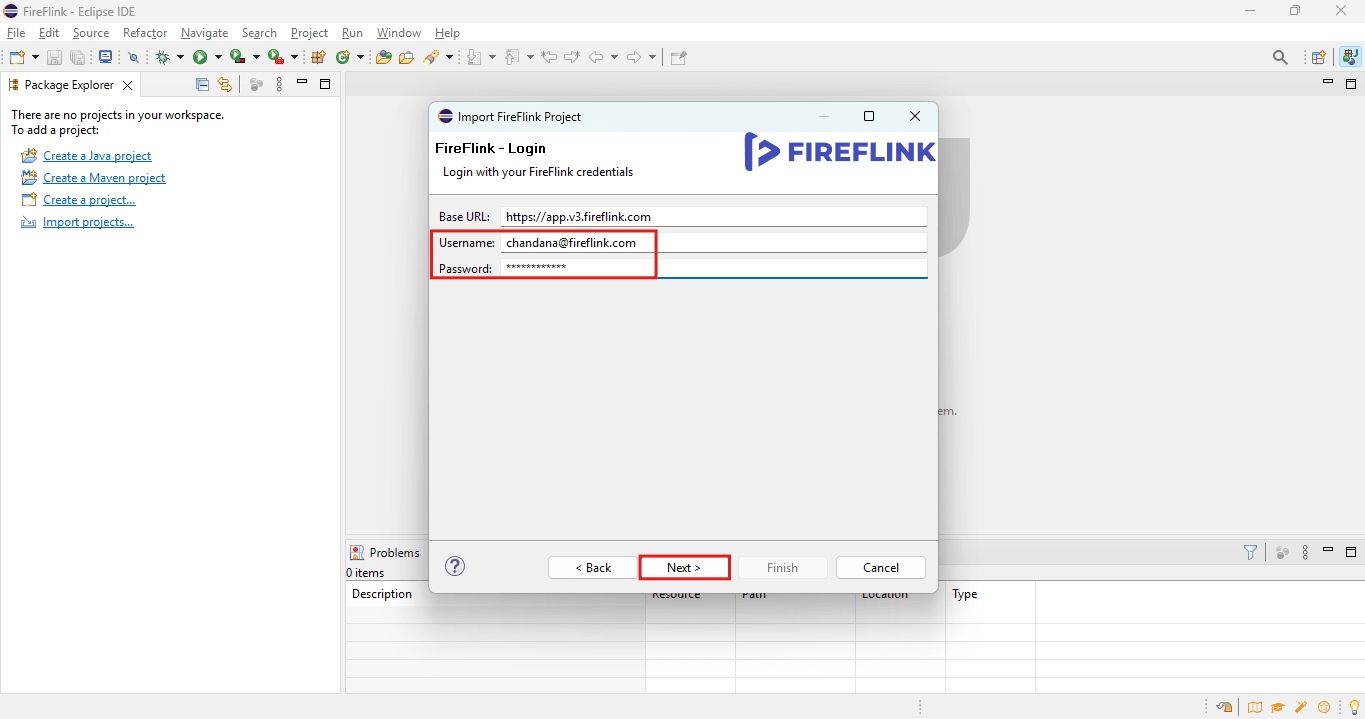
- Provide the username and password which we use for the FireFlink Platform, then click the Next button.
- Click on the License Dropdown to select the license.
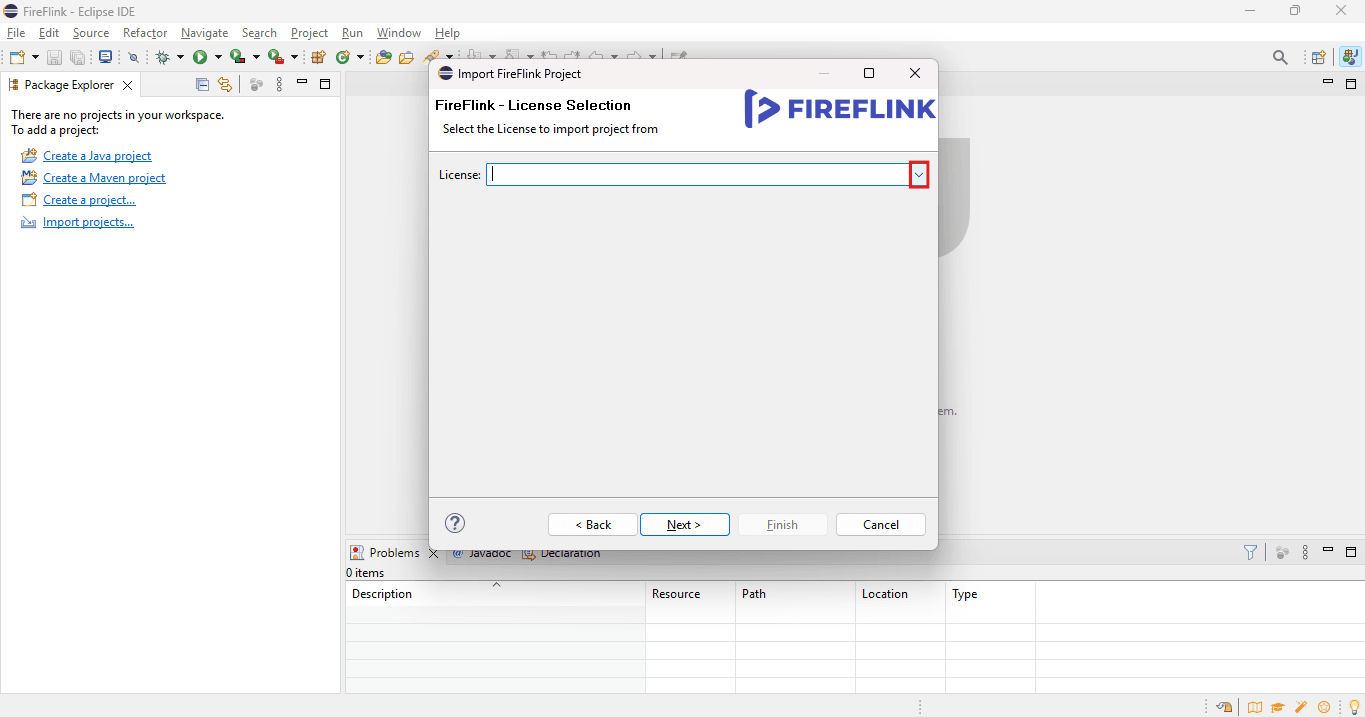
- Choose the License Id from the List.
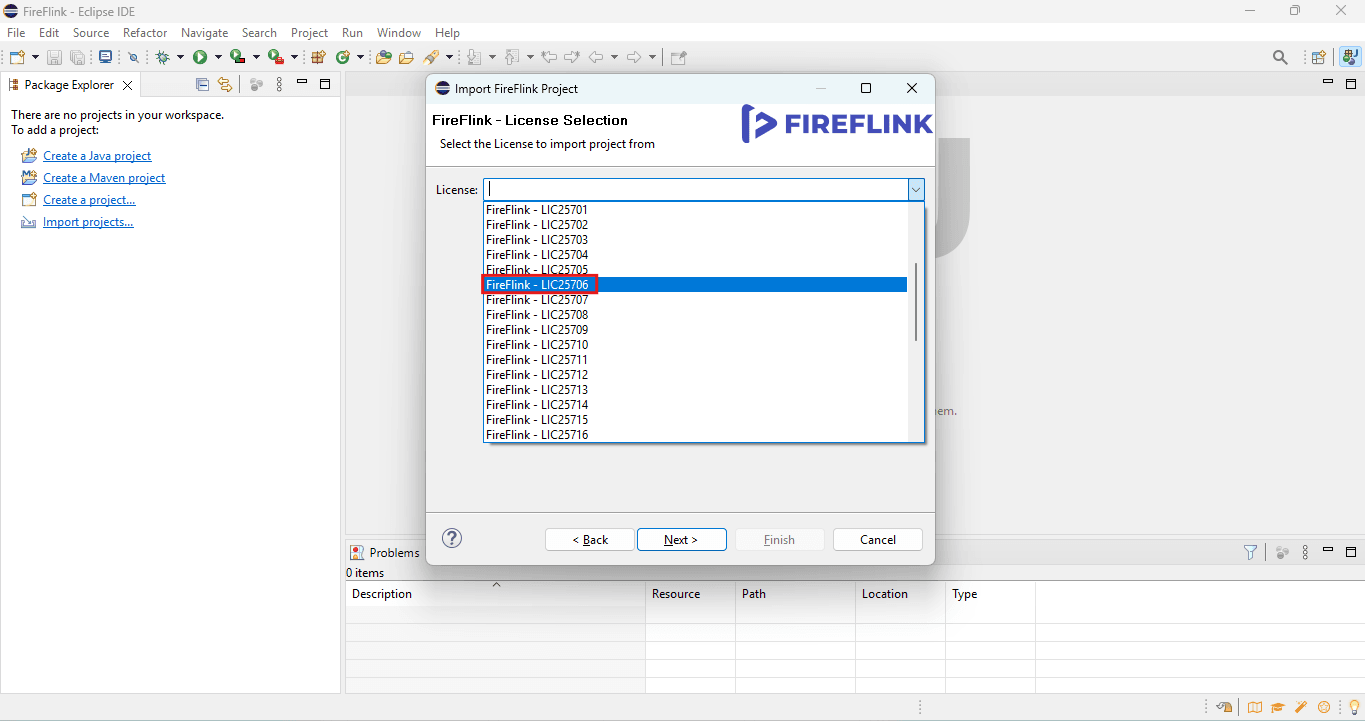
- Click on the Next button on the Window.
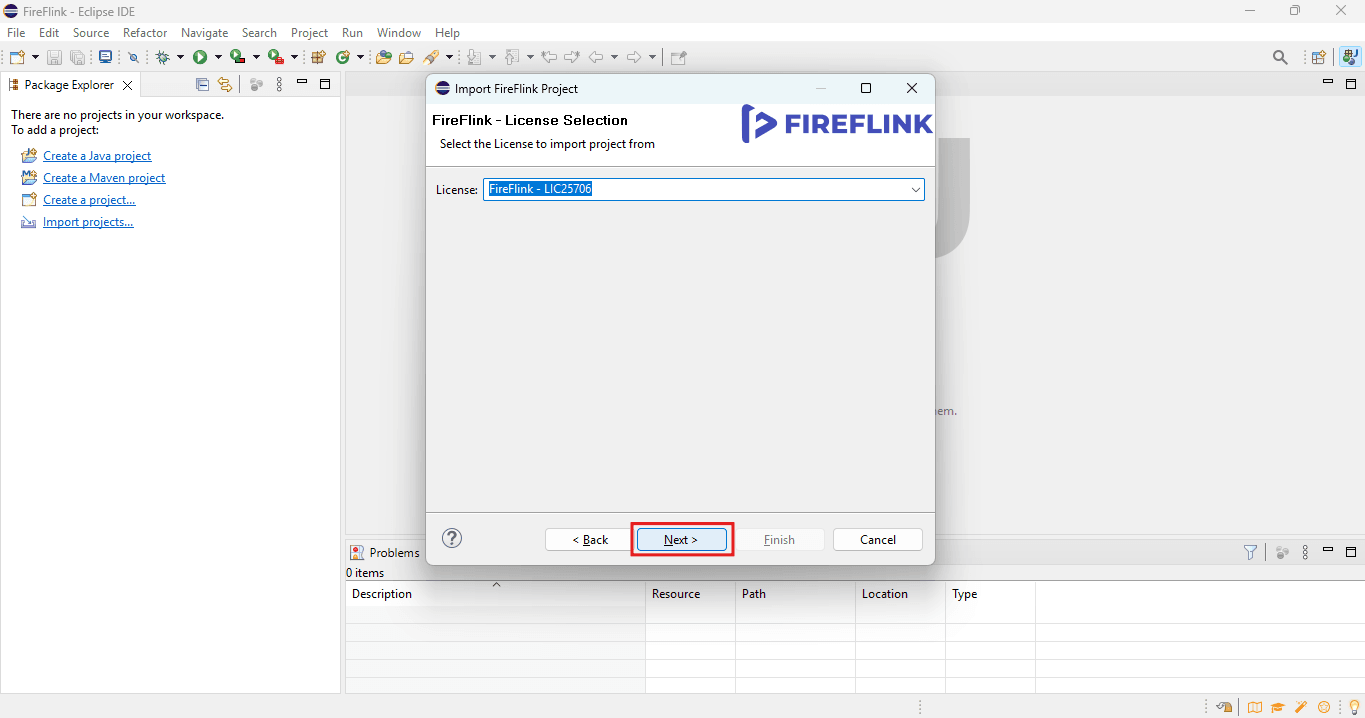
- Select the project under the Project dropdown.
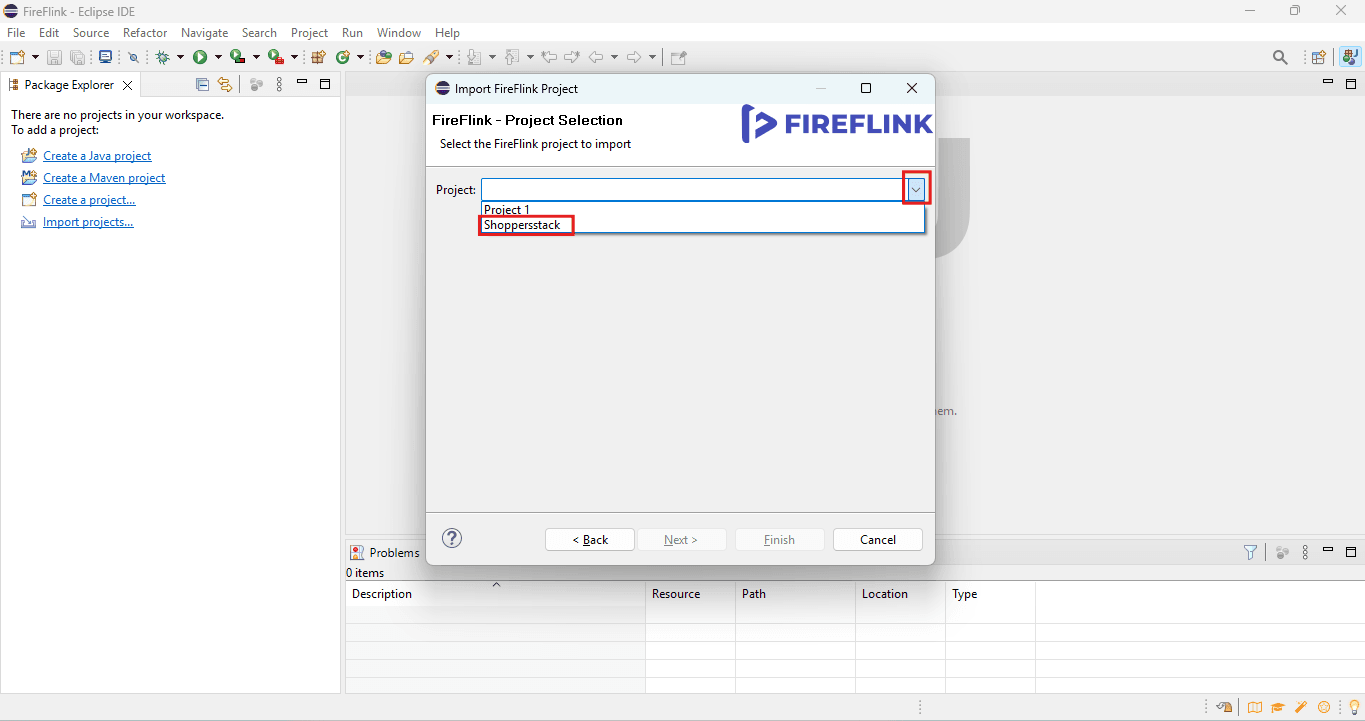
- Click on the Finish button.
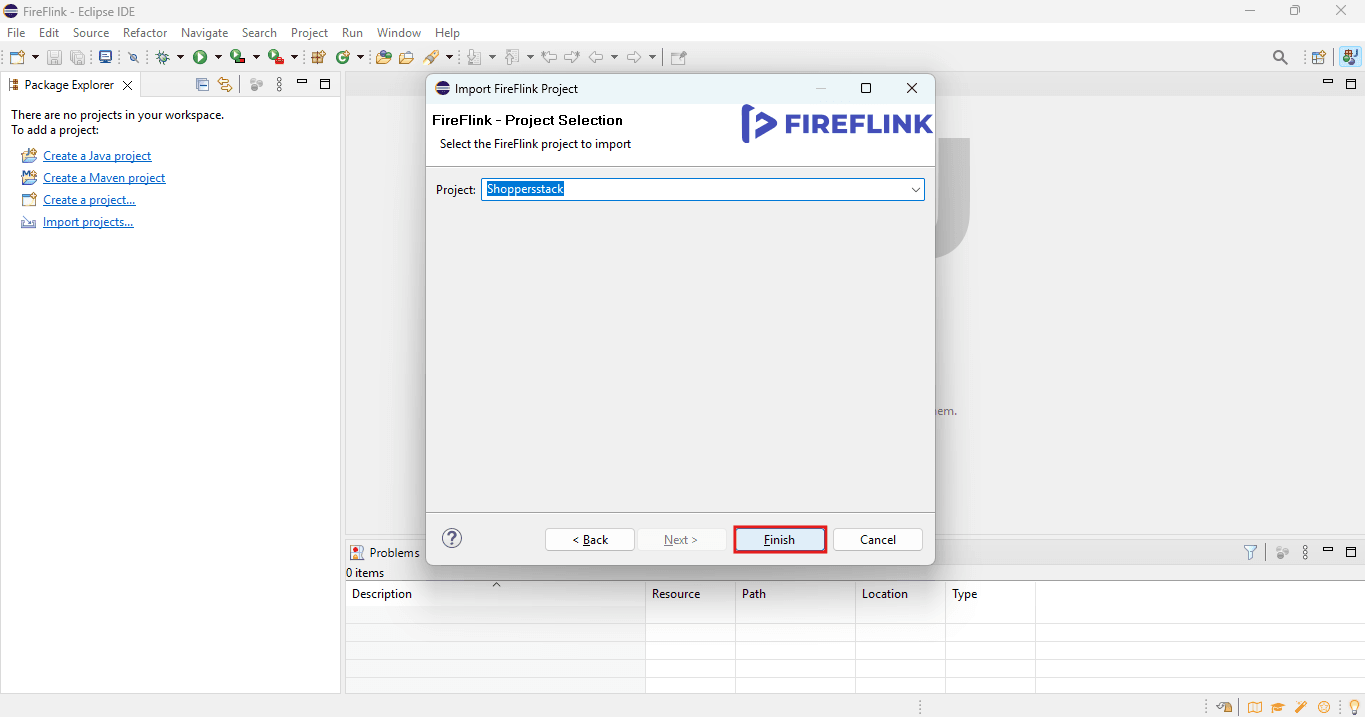
- This project will enable us to build the custom NLP we desire
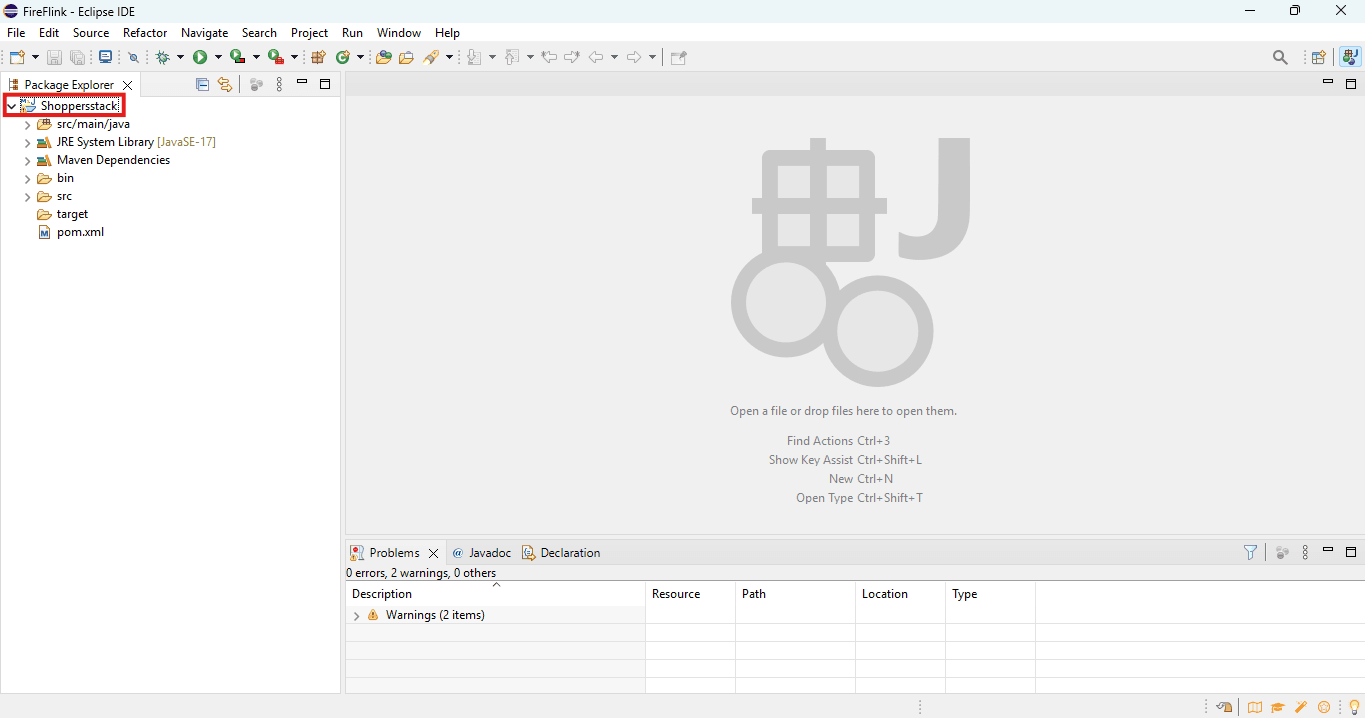
Moving Program Elements to FireFlink
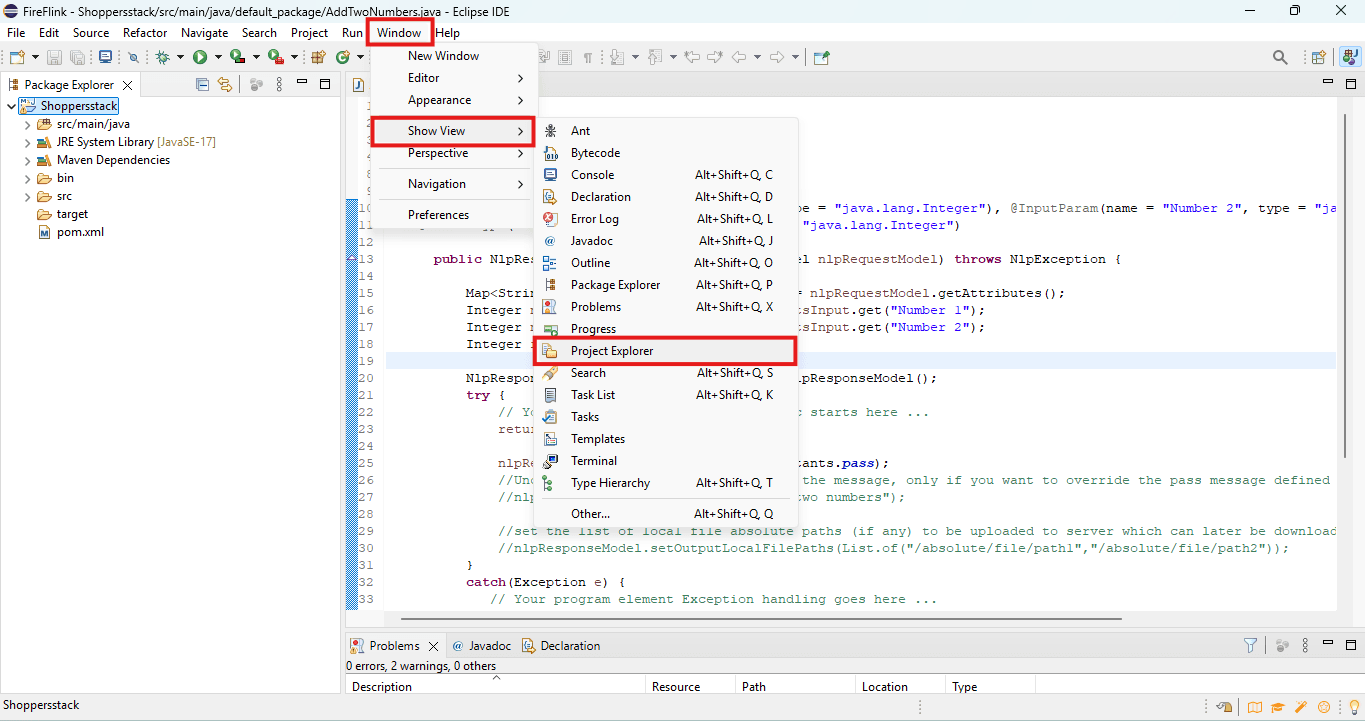
Prerequisite : Ensure the project is visible in the Project Explorer.
- Go to the Windows menu in the top navigation bar, hover over Show View, and then select Project Explorer from the submenu.
- The project will be displayed in the Project Explorer window.
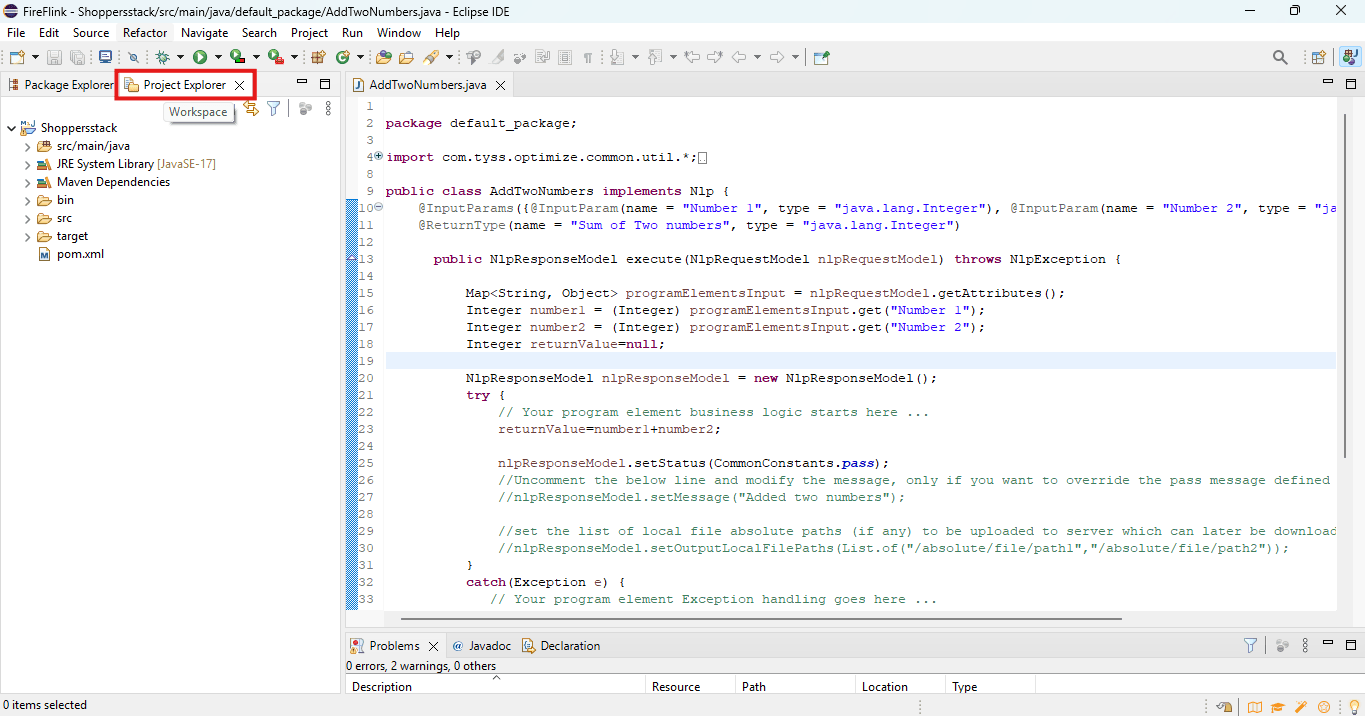
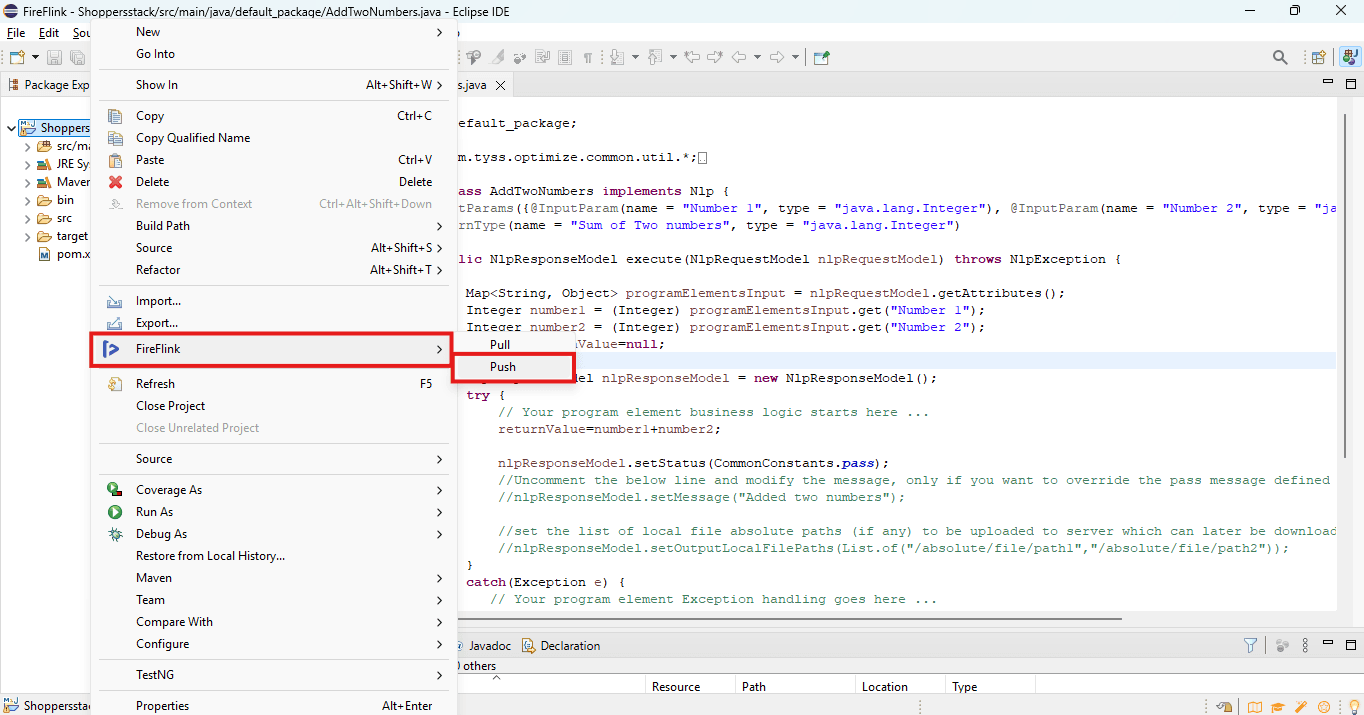
- Once the writing code is completed save the class and push that code into FireFlink
- Right-click on the project name - click on the FireFlink - click on Push
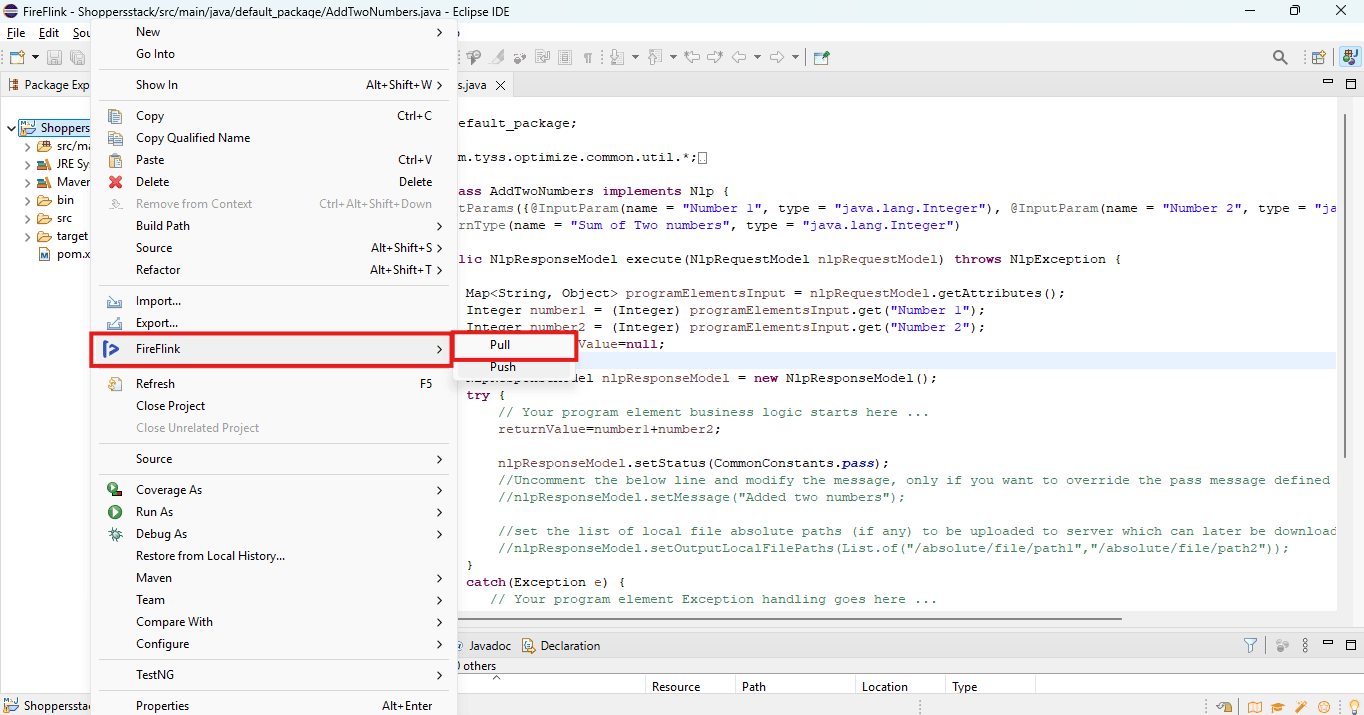
- If the user needs to pull the updated program elements from another user, the user can re-pull the project by following these steps:
- Right-click on the project name, go to FireFlink, and click on Pull.
- The pushed or pulled program elements will be displayed in the corresponding project in the FireFlink Platform.
- To view it, go to the project and navigate to the Repo Section. By default, the Elements page will be displayed. Click on Program Elements as shown below.